Summary -
In this topic, we described about the below sections -
Client is defined as a self-contained business entities or independent accountable business units in commercial, organizational and technical terms. Normally clients can be created from 000 to 999. In this chapter, we will discuss about client creation.
New Client Creation -
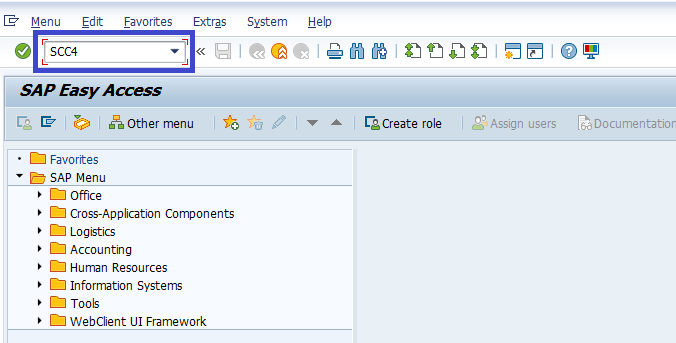
Step-1: Go to SCC4 (client Administration) to create a client.
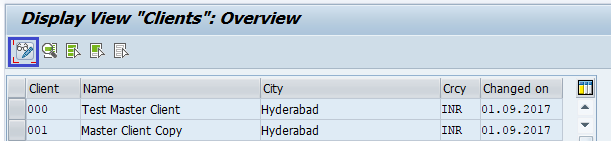
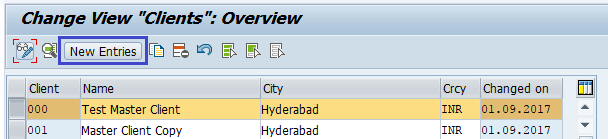
Step-2: It opens the below “display view clients: Overview” screen. Click on “Display -> Change” button highlighted below to open “change clients” screen.
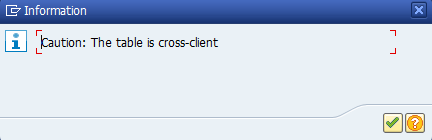
Step-3: Click on the "right mark" on the below dialog to proceed with change mode.
Step-4: Click on “new entries” highlighted below to open new entries screen.
Step-5: Once the new entries screen opened, fill the details specified below.
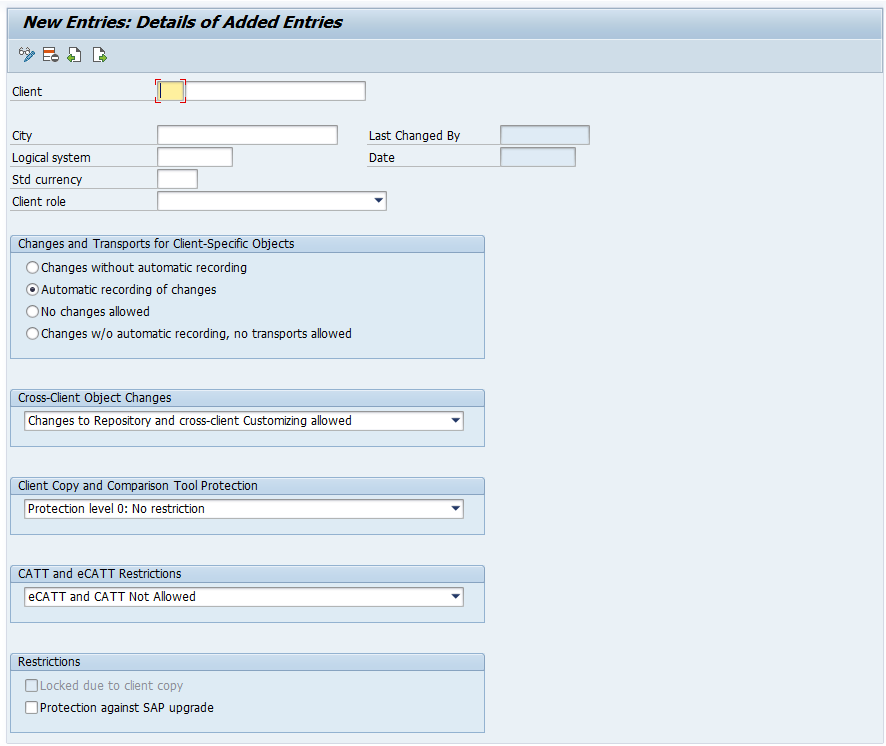
- Client number & description - Specify the client number from 000 to 999 and client description. In this case, the values are 000,Test Master Client.
- City - Specify the client city. In this case, it is Hyderabad.
- Logical system (<SID>CLNT<Client Number>) - Entry is optional and select the logical system name from the list if required.
- Standard Currency - Select the client standard currency from the list. In this case, it is INR.
- Client roles - Select the client role from the list. In this case, it is Demo. Do modify client specific data and permission for the clients if required.
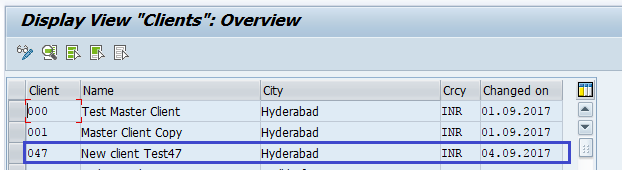
Once the data updated, the screen appear with full information like below -

Step-6: Click on the save button to save the client. The client successfully added to the list like below.