
Summary -
In this topic, we described about the Scheduling Background Job process in detail.
Before start processing, a background job must be defined and scheduled. SM36 transaction code used to schedule a background job. Below steps are to schedule a background job.
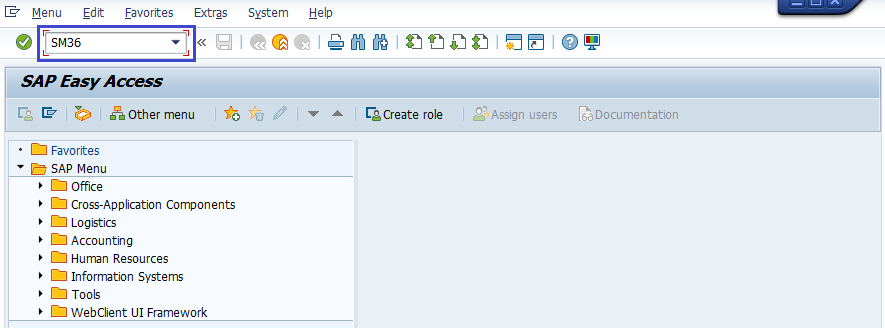
Step-1: Go to SM36.
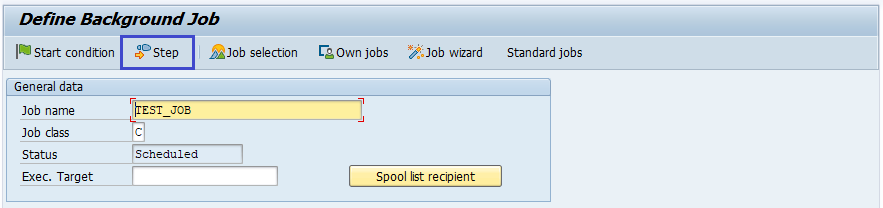
Step-2: It navigates to “Define Background Job” screen. Fill the job name, job class and Execution Target server.
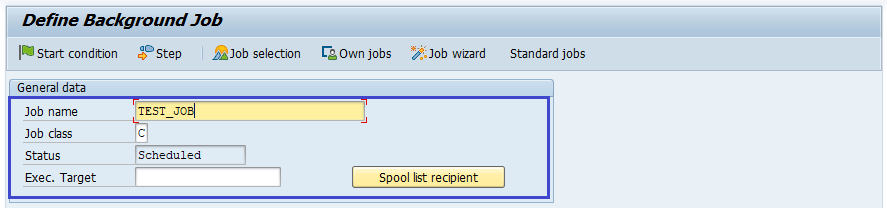
Once the job scheduled, the job runs on target server if specified. Target server used for only load balancing.
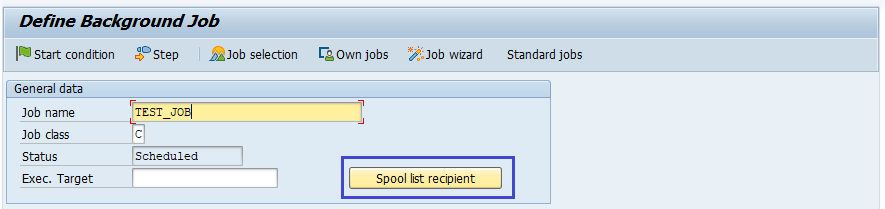
Step-3: Click on "spool list recipient". The output sends to your mailbox and check email from SBWP.
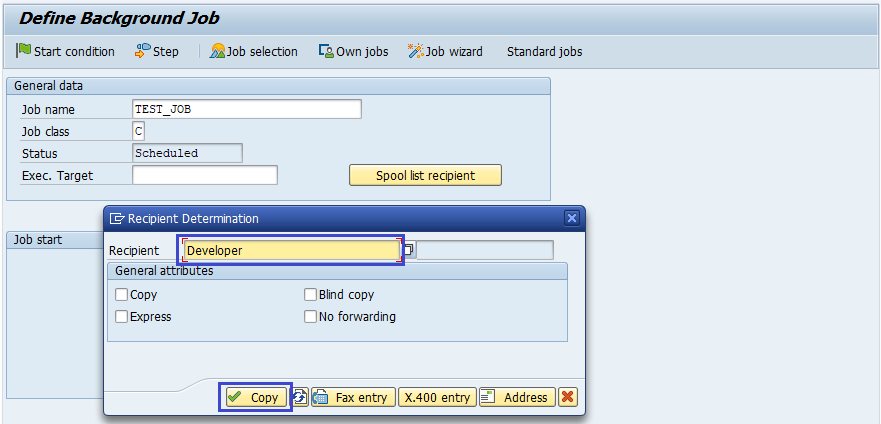
Step-4: Insert SAP username and click the copy button continue.
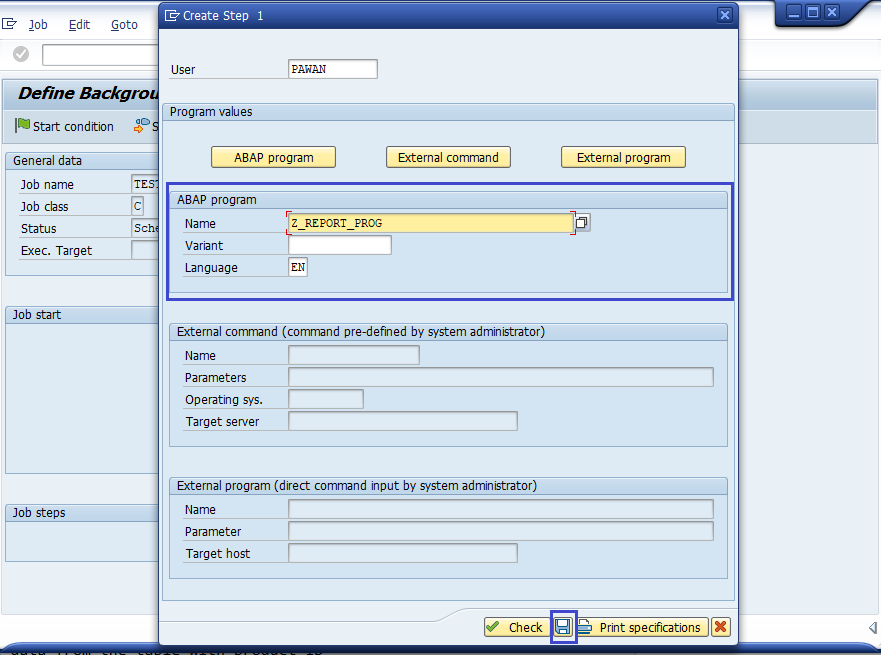
Step-5: Click on “Step” button to define ABAP program, variant's details and language.
Step-6: It has three types to execute in the job.
- ABAP program
- External command
- External program
Click on the appropriate button to enter the details.
In this example, we are entering ABAP program. So, enter ABAP program name, variant and language details. If variant is not created, ignore the variant field as blank. Click on save button to continue.
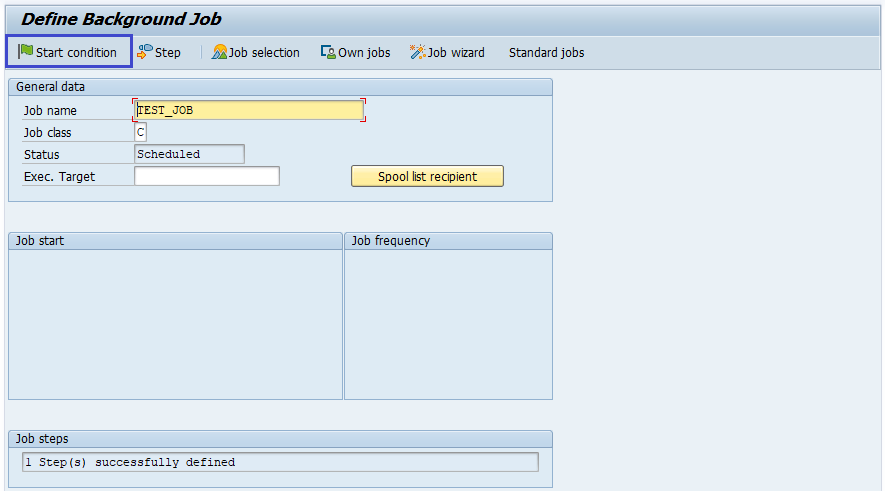
Step-7: Once the job saved, the below screen will appear.

Step-8: Go back from the above screen, “define background job” screen appears. Click on “Start Condition” to define Schedule time.
If the schedule time is not set, the job in scheduled status and won’t run forever.
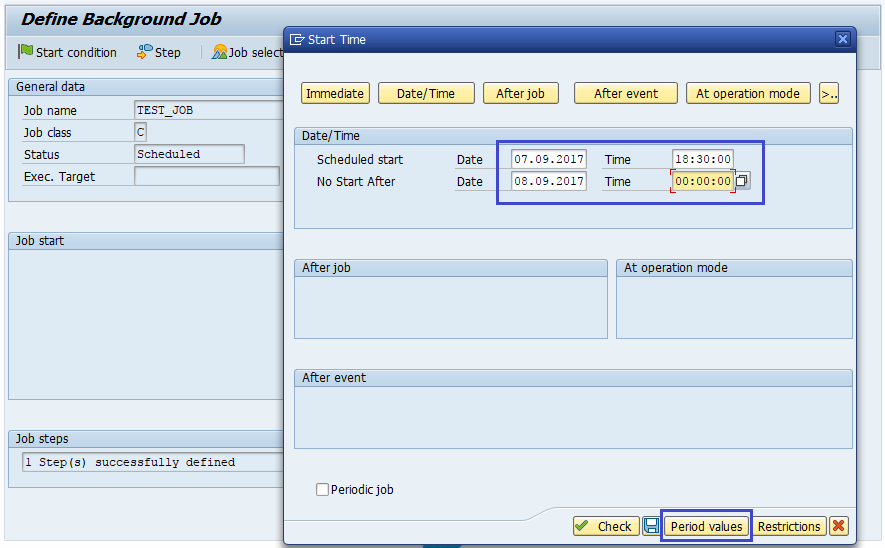
Step-9: It navigates to “start time” screen. Click on “Date/Time” button to enter the schedule date and time.
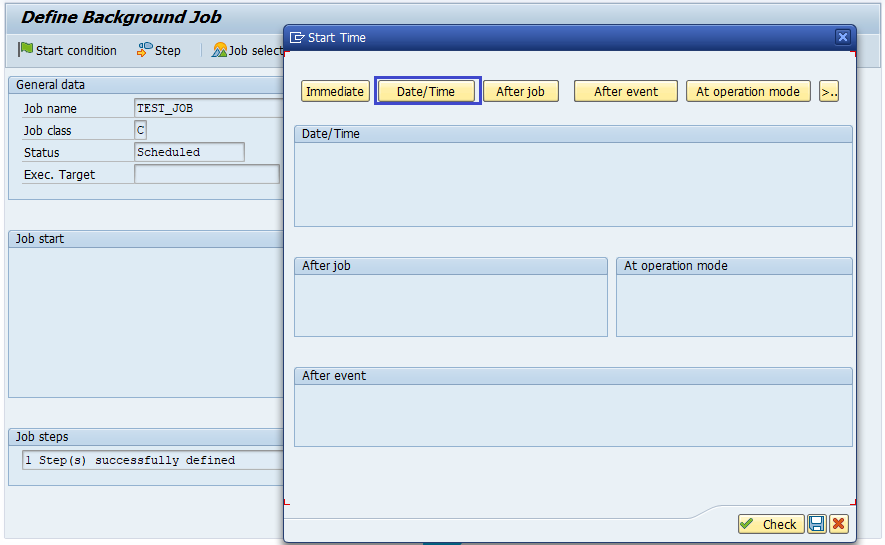
Step-10: Once the details entered, click on “Period Values” button to enter job running period values.
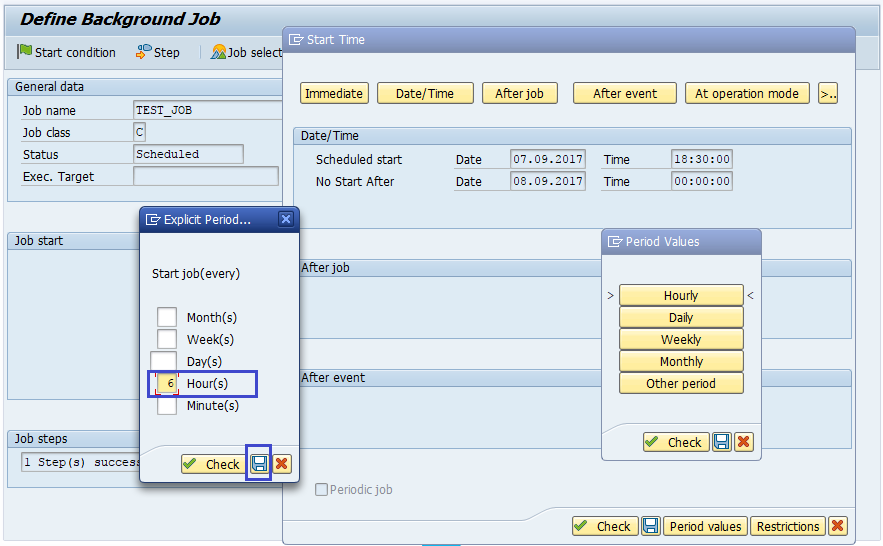
Step-11: Click on any of the period values as per requirement. In this case, it is “other period”. Enter the time gap as “6 hours”. Click on Save button.

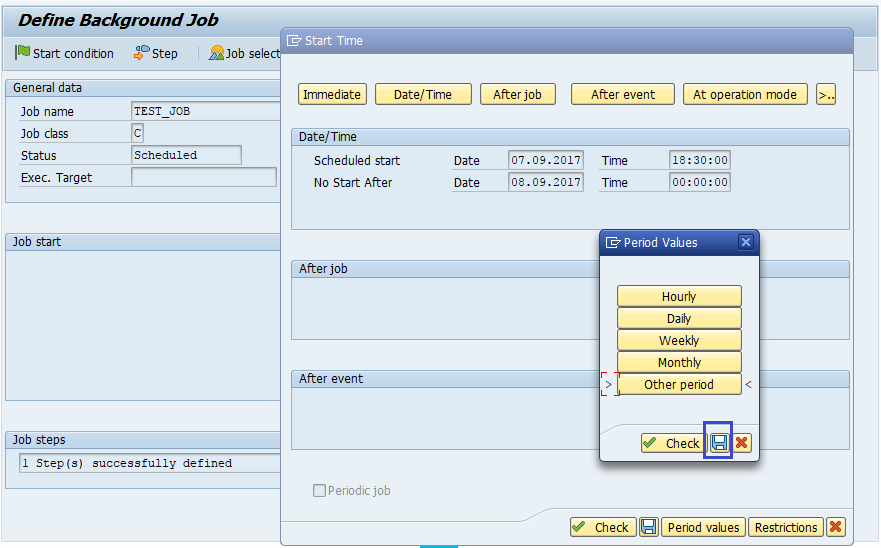
Step-12: Click on Save button again.
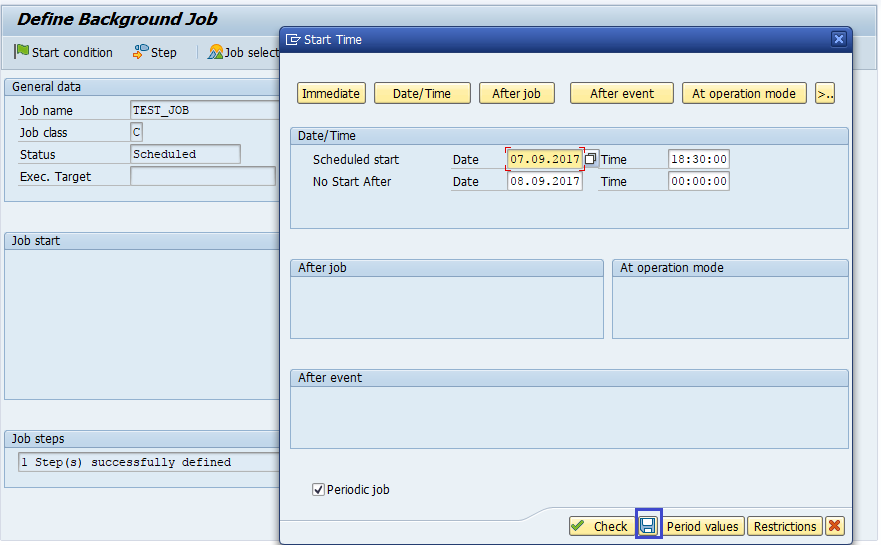
Step-13: Click on Save button again.
Step-14: Click on Save button again.
Step-15: Once Job step and start conditions are defined the following window will appear.
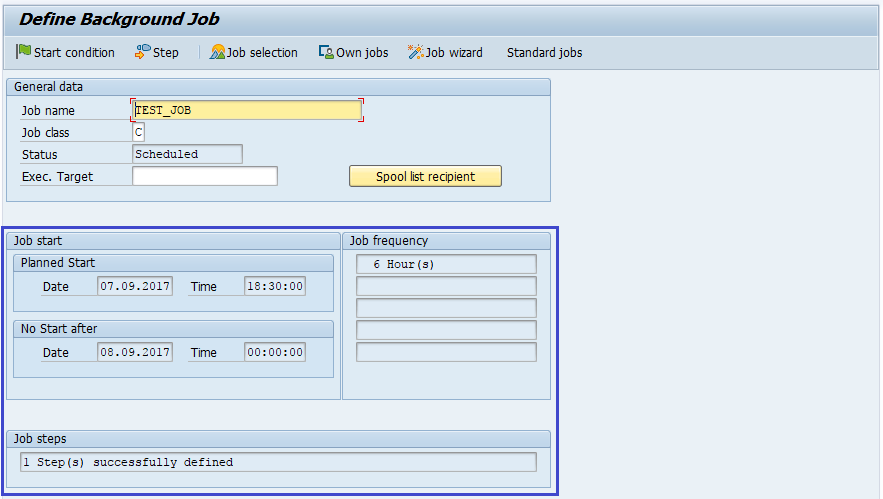
Step-16: Click on Save button again.
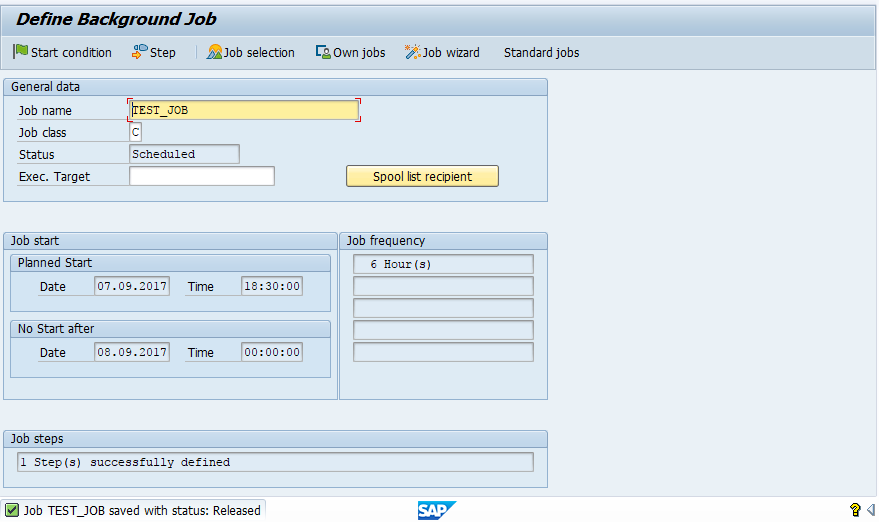
Once the job saved, the job definition and scheduling is completed.