
Selenium IDE Installation
Currently, selenium IDE supports both Chrome and Firefox. The Chrome and Firefox plugins records and plays back user interactions with the browser.
These plug-ins can be used to either create simple scripts or assist in exploratory testing.
Selenium IDE has two plugins developed for the below browsers –
- Firefox
- Chrome
Selenium IDE plugin for Firefox
To install selenium IDE plugin for Firefox, the Firefox latest version should be installed on the system. If not yet installed, download Firefox from the below link and install in the system -
https://www.mozilla.org/en-US/firefox/new/Launch Firefox and navigate to the below link for Selenium IDE.
https://addons.mozilla.org/en-US/firefox/addon/selenium-ide/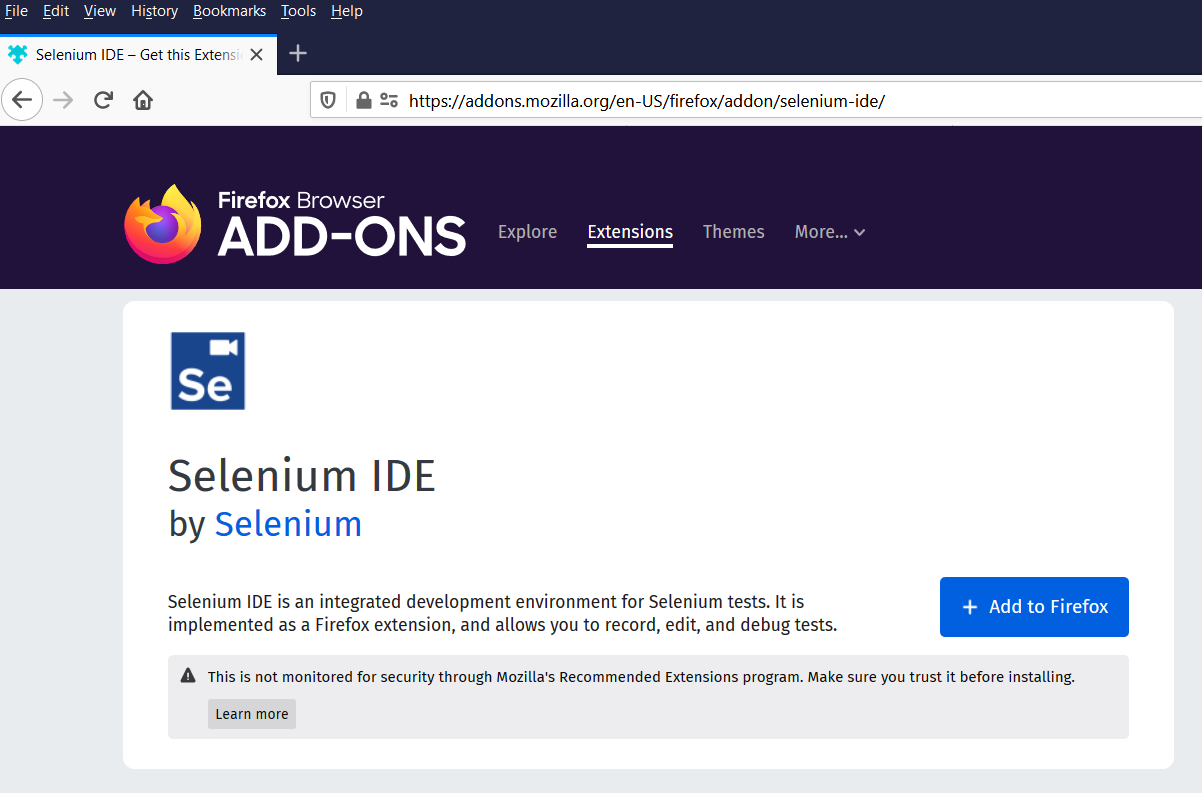
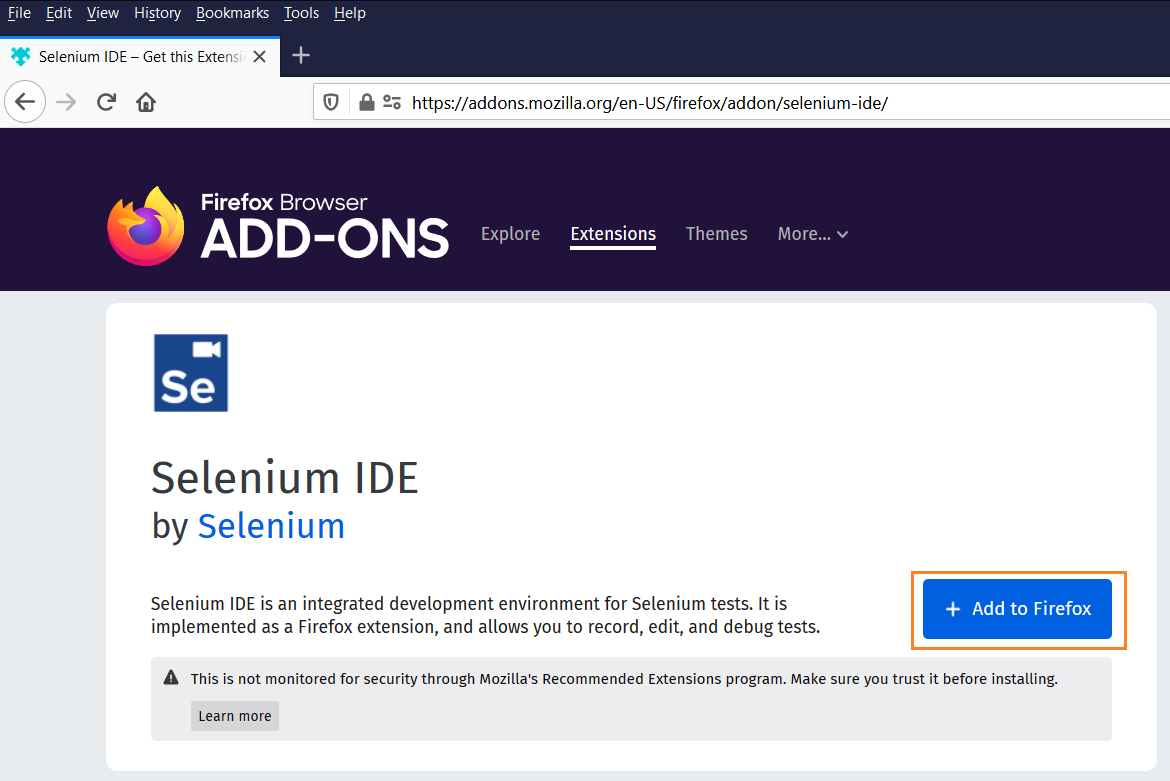
Click on "+ Add to Firefox" button to add the plugin to Firefox.
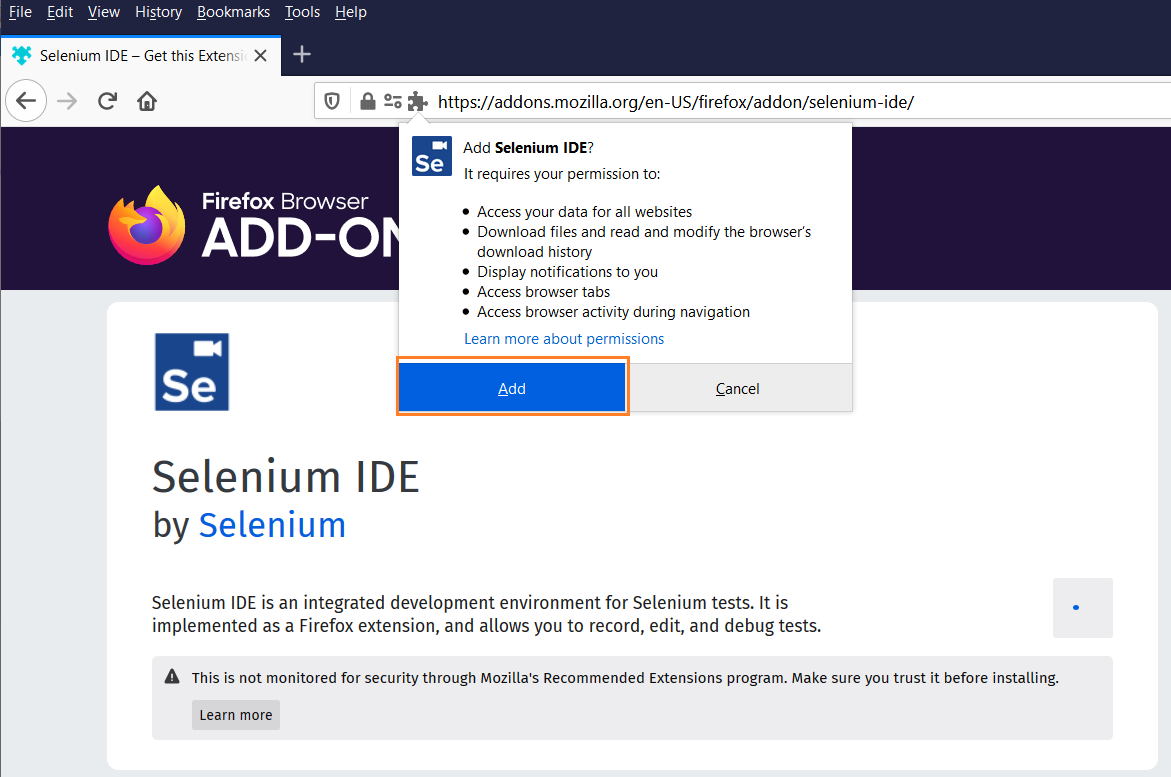
Wait until the Firefox completes the downloading of the plugin and click on "Add" button shown below.
Once the plugin installation completed, we will get the confirmation message. Check the option "Allow this extension to run in Private Windows" if required.

Click on "Okay, Got It" button to proceed.
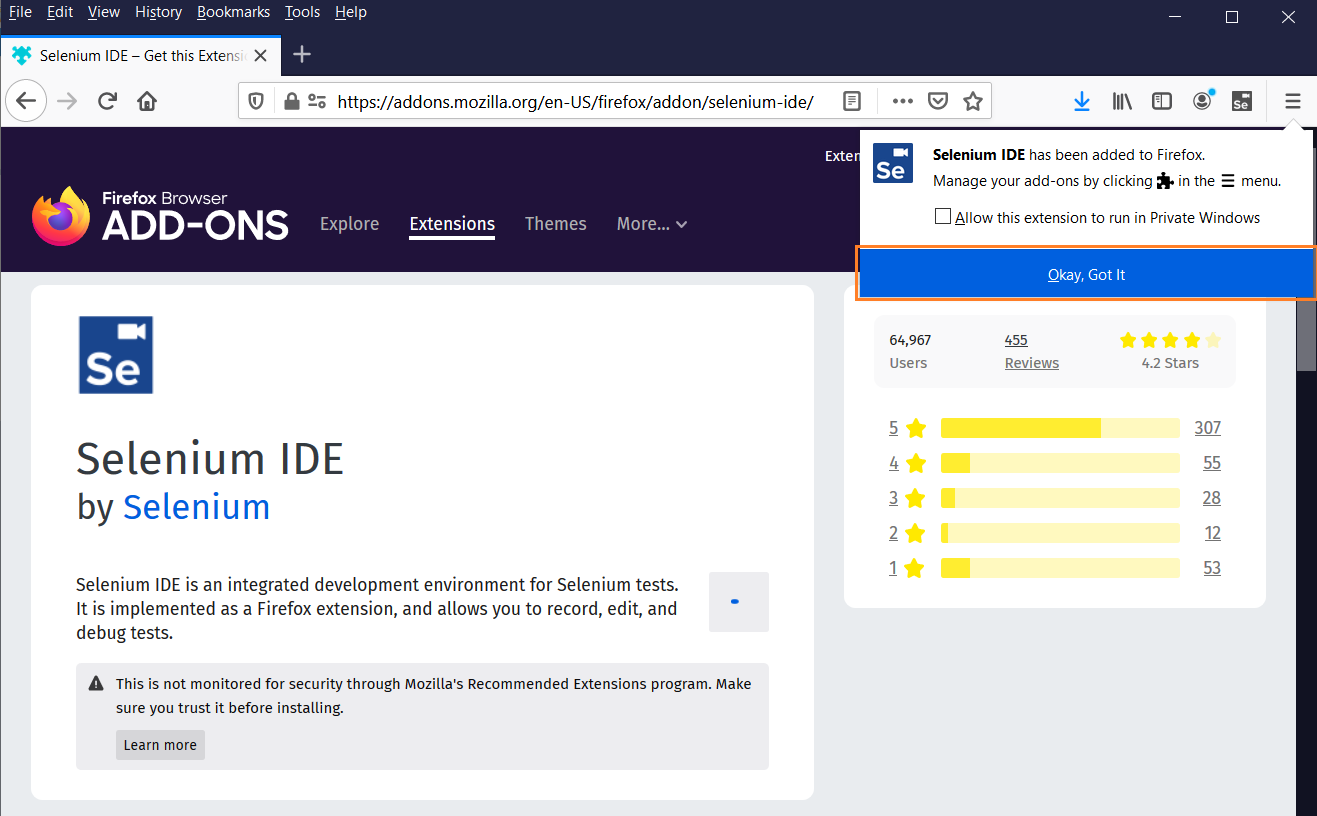
Once the installation is successful, browser will gets displayed with Selenium IDE icon on the top right corner like below.
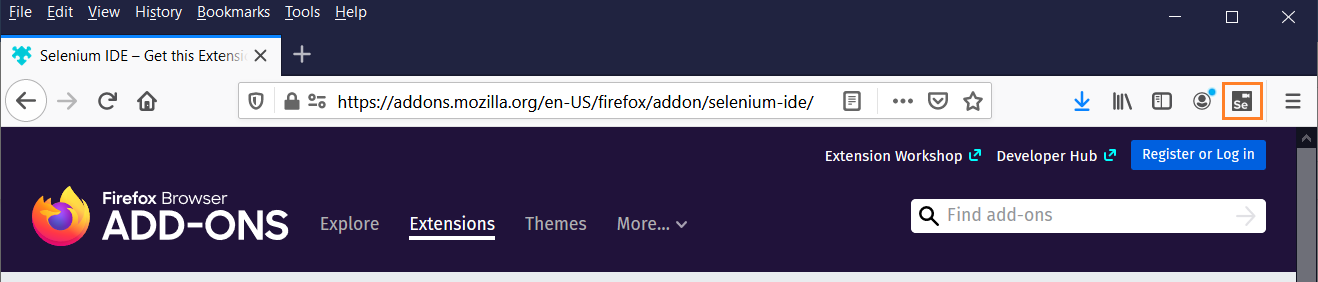
Click on the Selenium IDE icon, to open the Selenium IDE.
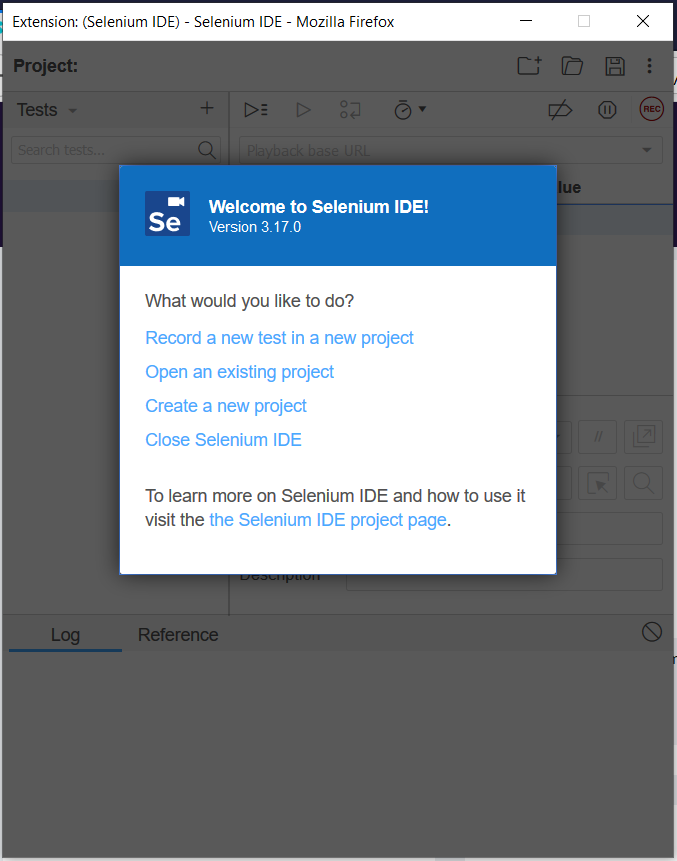
Select the appropriate option and start performing test.
Selenium IDE plugin for Chrome
To install selenium IDE plugin for Chrome, the Chrome latest version should be installed on the system. If not yet installed, download Chrome from the below link and install in the system -
https://www.google.com/chrome/
Launch Chrome and navigate to the below link for Selenium IDE.
https://chrome.google.com/webstore/detail/selenium-ide/mooikfkahbdckldjjndioackbalphokd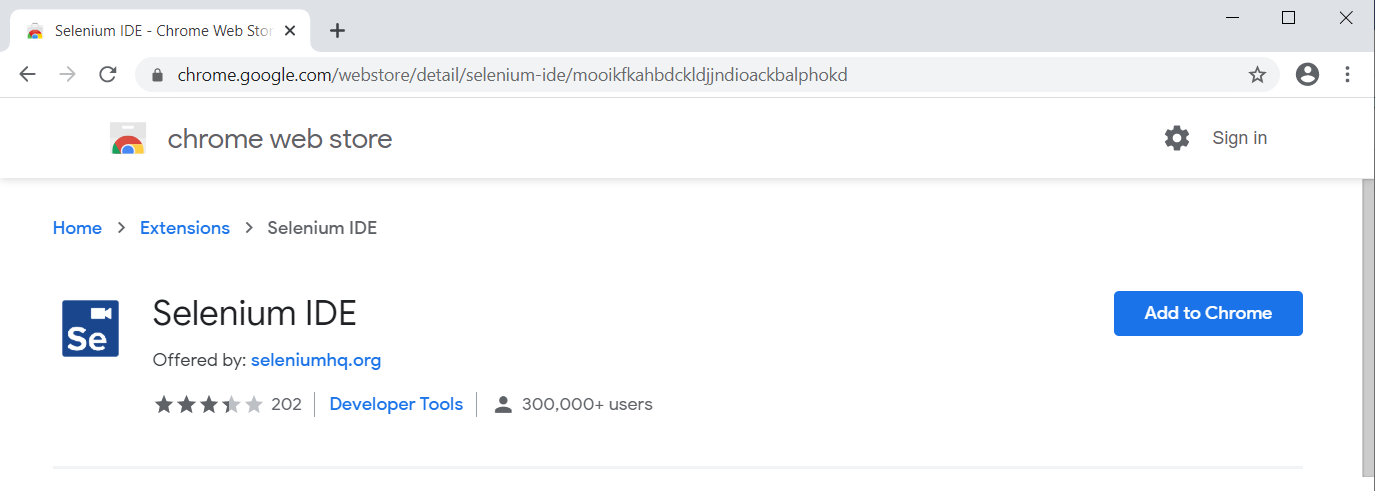
Click on "Add to Chrome" button to add the plugin to Firefox.
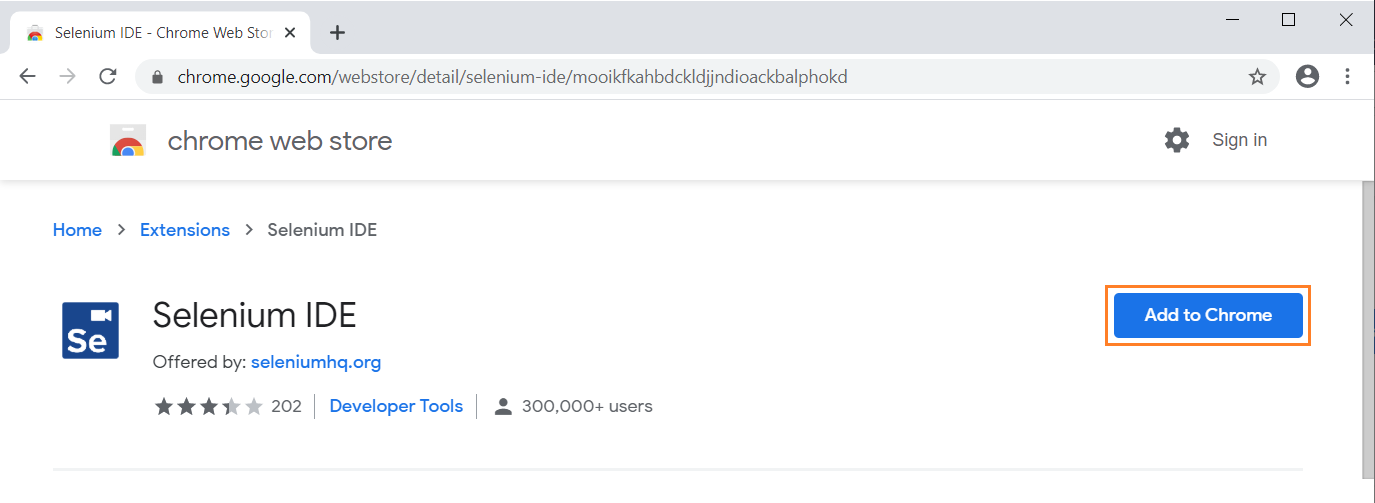
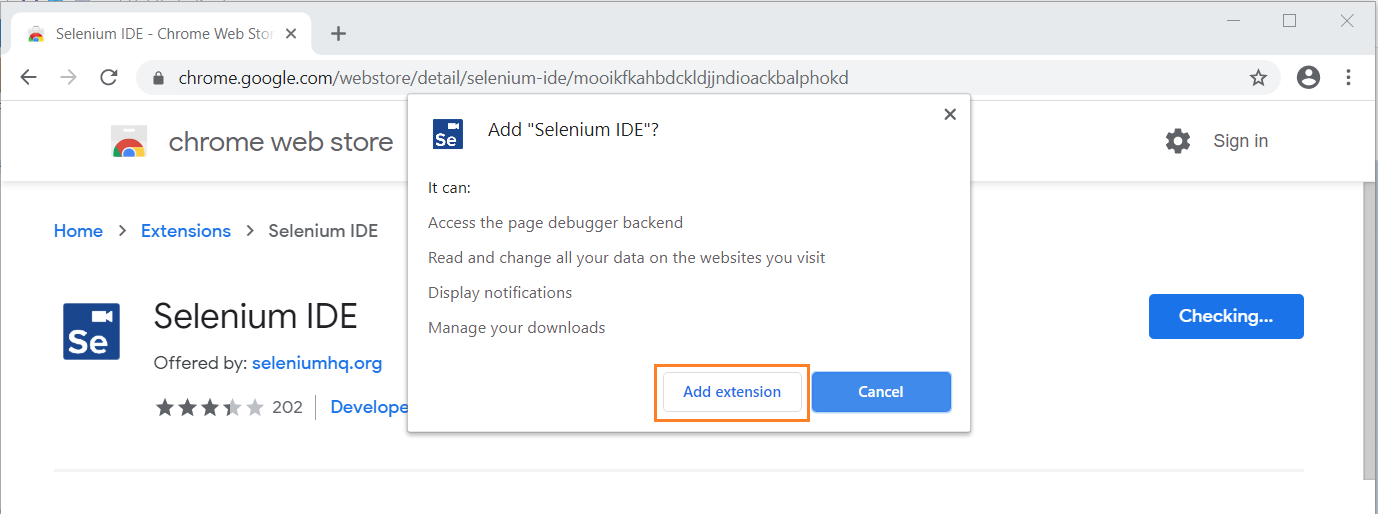
New popup gets opened. Click on "Add extension" button to add the plugin to chrome.
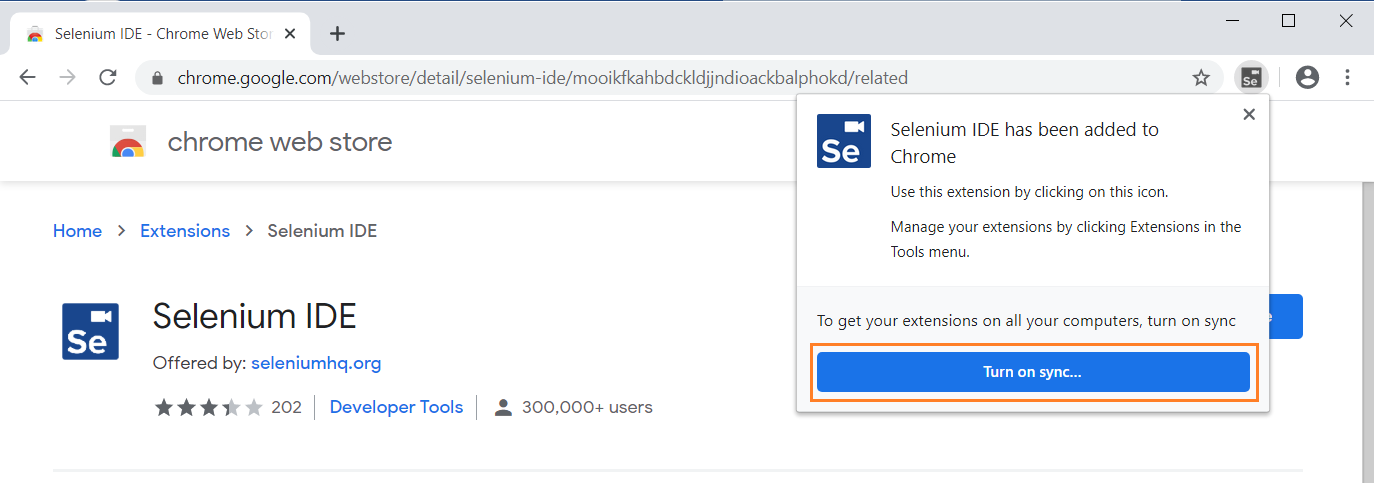
Once the plugin installation completed, we will get the confirmation message. Click on "Turn on sync.." button to proceed.
Once the installation is successful, browser will gets displayed with Selenium IDE icon on the top right corner like below.
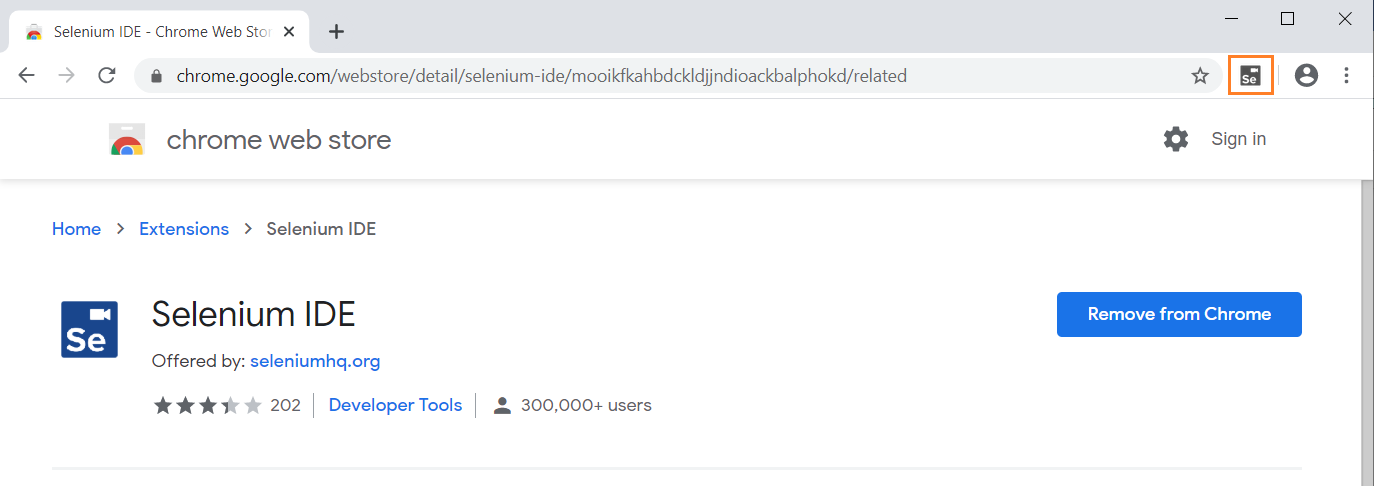
Click on the Selenium IDE icon, to open the Selenium IDE.
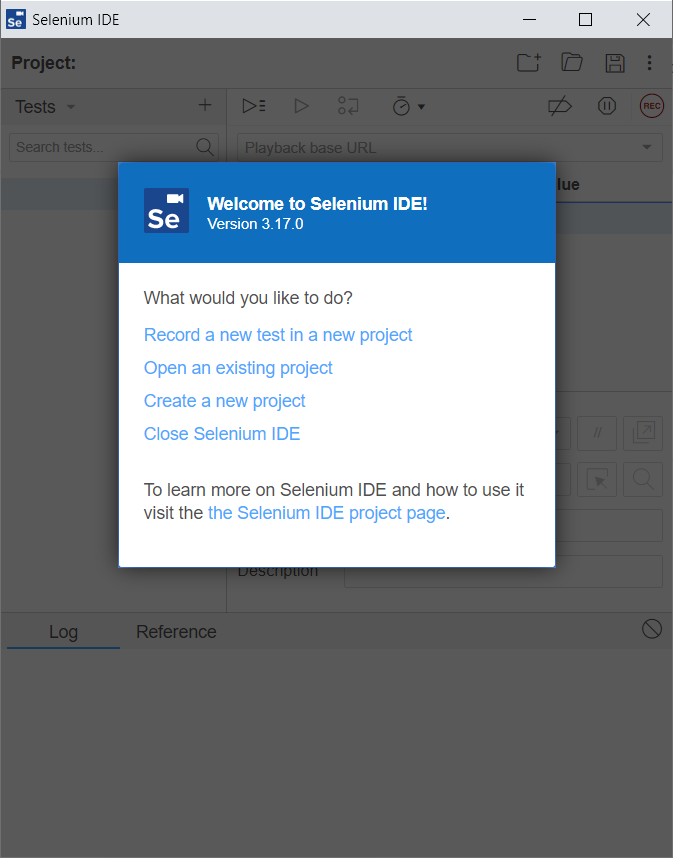
Select the appropriate option and start performing test.