Brackets Editor Quick Edit
Brackets quick edit feature used to add/modify the CSS rules of an element or tag from the html document without leaving it or moving to CSS document.
Quick edit file opens the .css files attached to the html file.
Quick edit feature can access in two ways -
- Menu path -
Navigate -> Quick Edit
- Shortcut key -
Ctrl + E (Windows) / Cmd + E (Mac)
Changing existing CSS rule -
Select any tag or element and click on Quick Edit or
press Ctrl + E to open the tag or element CSS rules on the html file.
In this case, we are selecting <h1> tag to get its CSS rules.
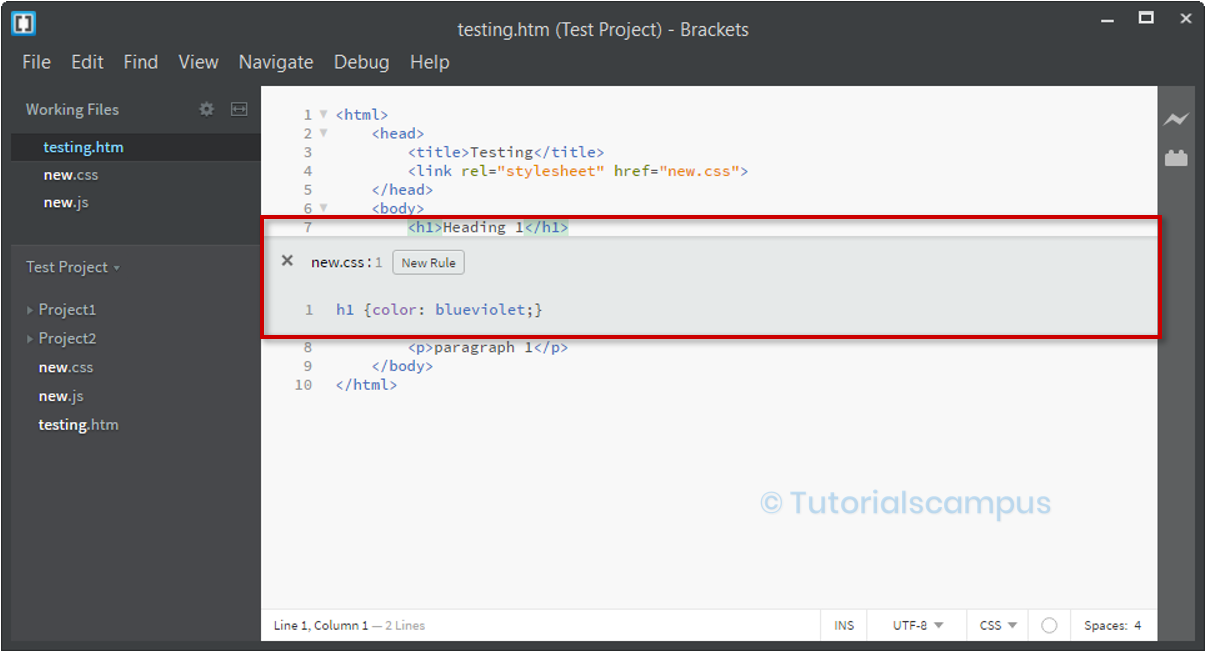
We can modify the CSS rules directly and saving the new changes updates the CSS file where the propery existed.
In this case, we are changing the color and saving updates new.css file directly.
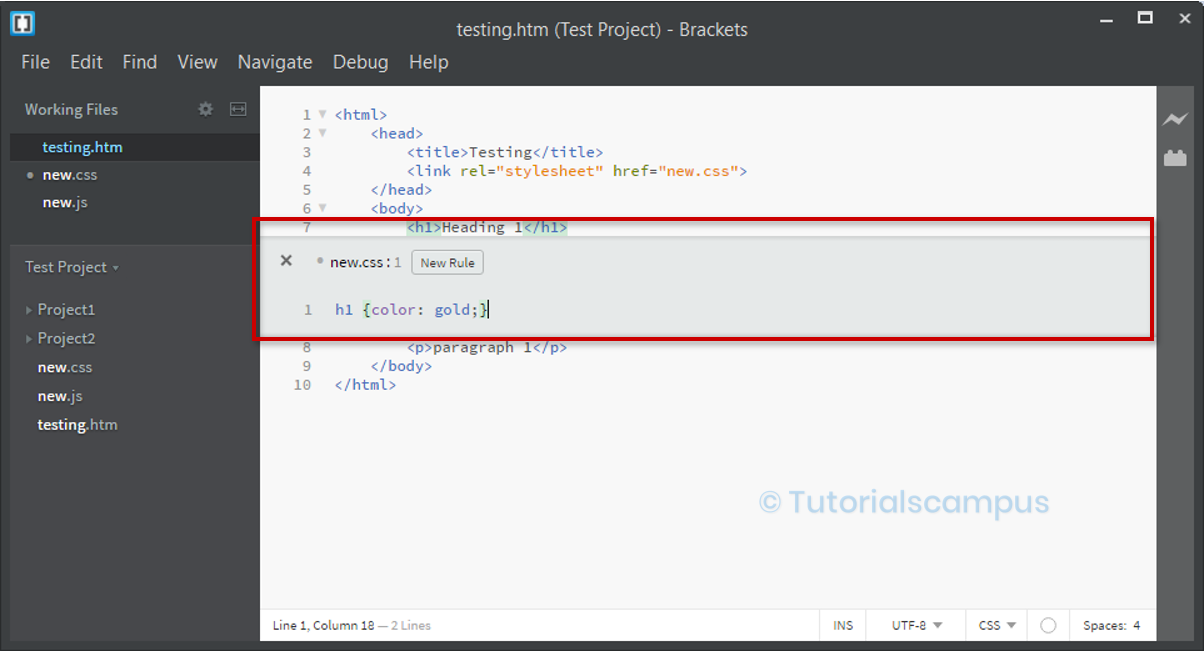
Once the changes done, Save the changes using Ctrl + S or menu path File -> Save.
Creating new CSS rule -
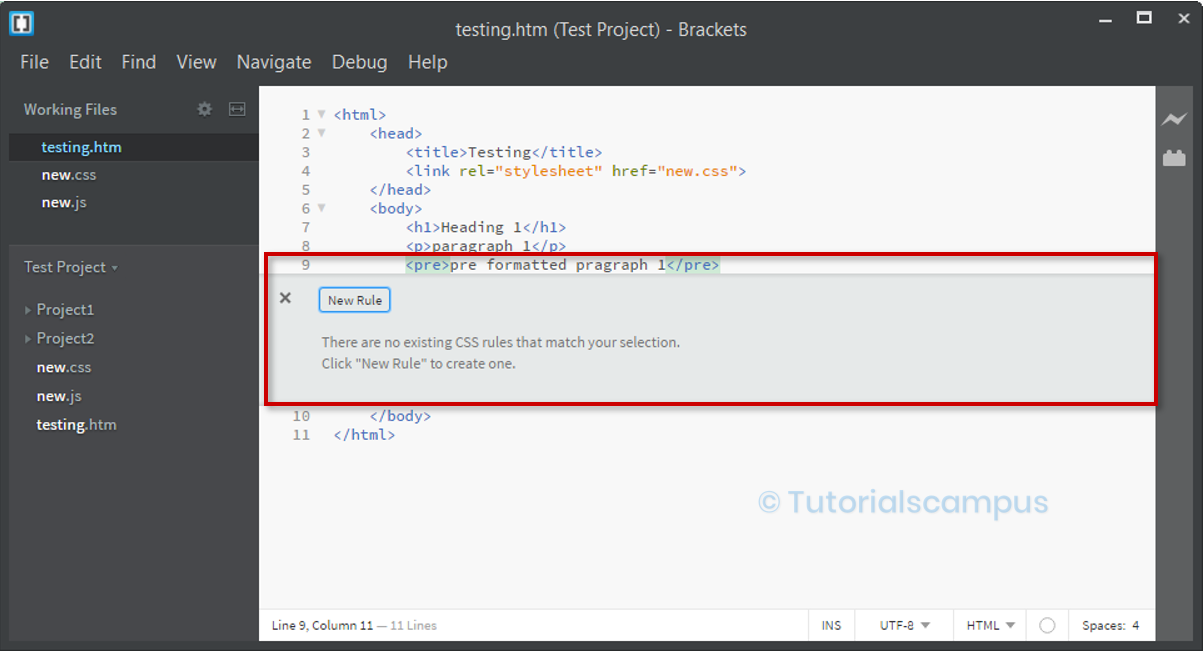
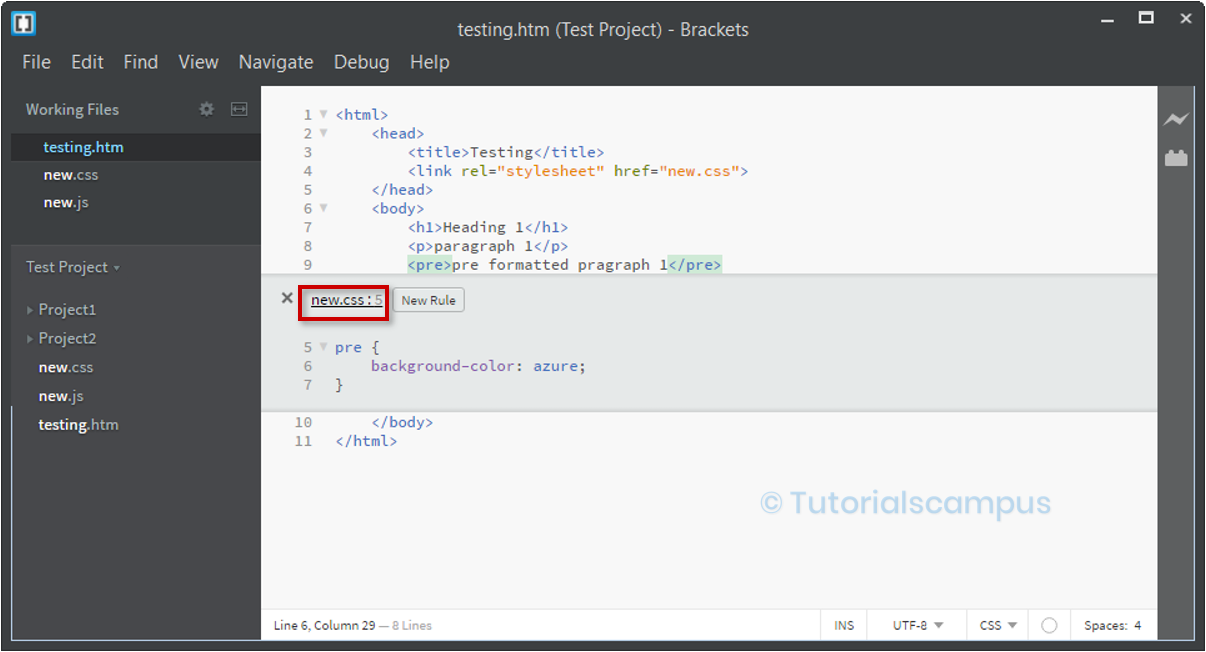
If the tag or element do not have any existing rule defined, it asks to create new rule by clicking on New Rule button as shown below.
Shortcuts -
	Ctrl + Alt + N (Windows)
	Cmd  + Alt + N (Mac)
Click on New Rule button to add rule to the tag.
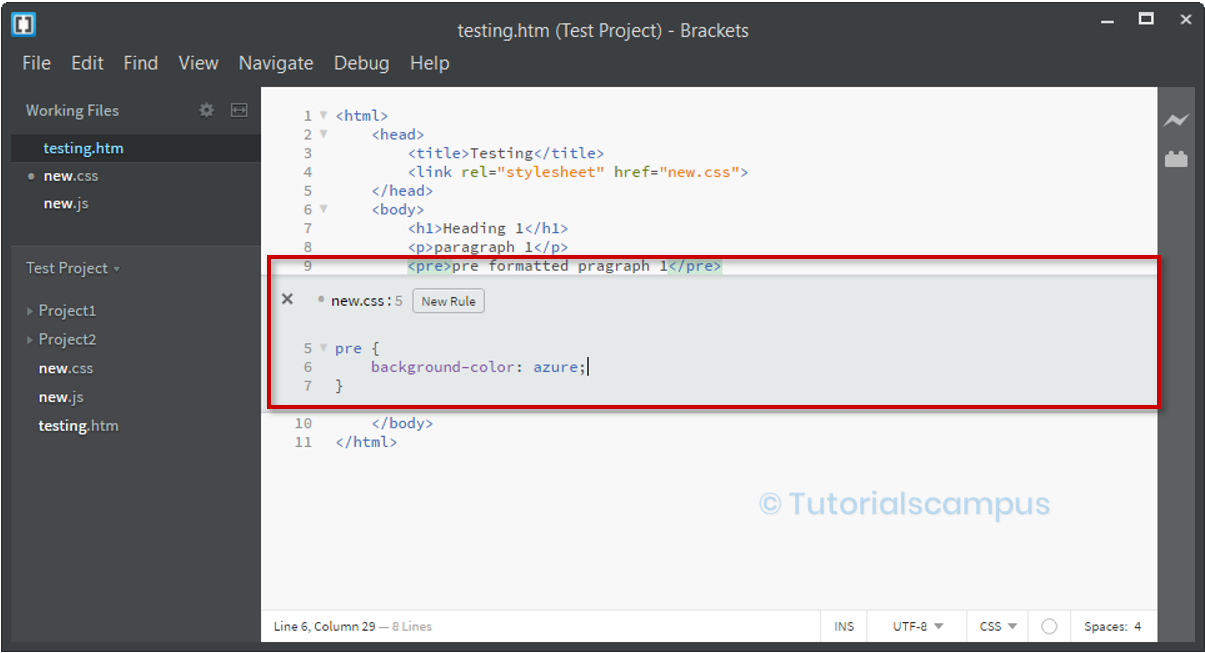
Once the changes done, Save the changes using Ctrl + S or menu path File -> Save.
Multiple CSS rules in multiple files -
There are some scenarios where a html file can have multiple CSS files with CSS rules.
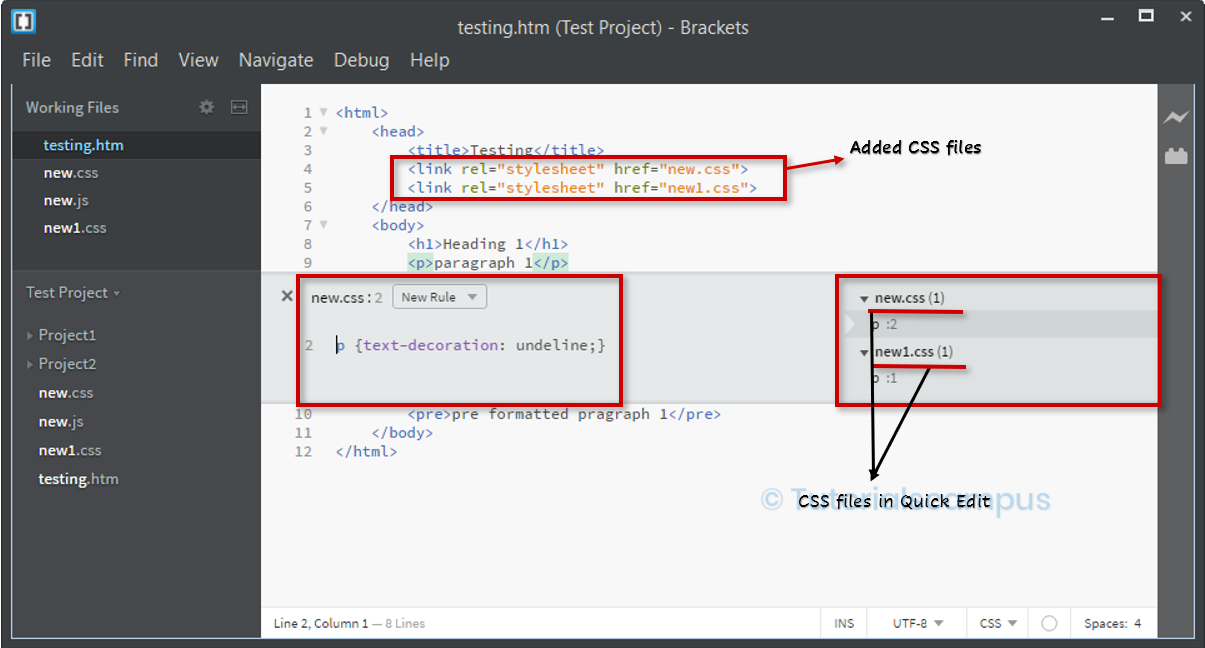
If a tag or element have the multiple CSS rules defined in the multiple files, Brackets shows all the files one by one in the order how they included in the html file.
For example, <p> tag has two rules. One is in new.css and one is new1.css. Using quick edit, Brackets shows both files like below.
Navigate to the next rule -
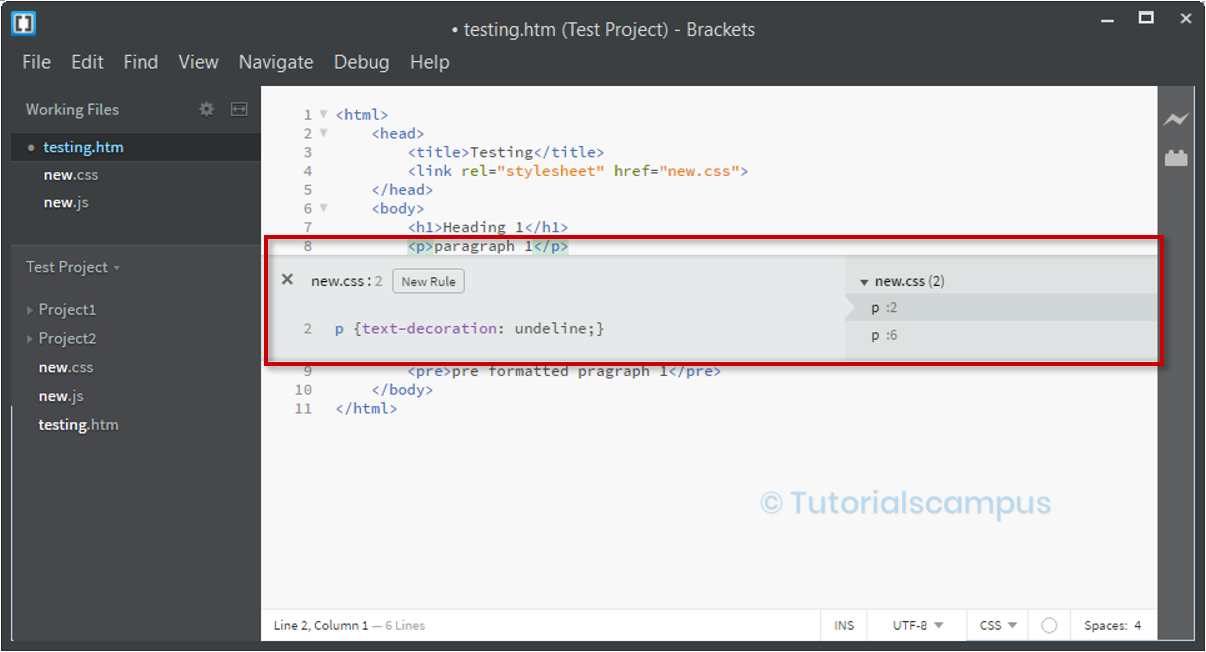
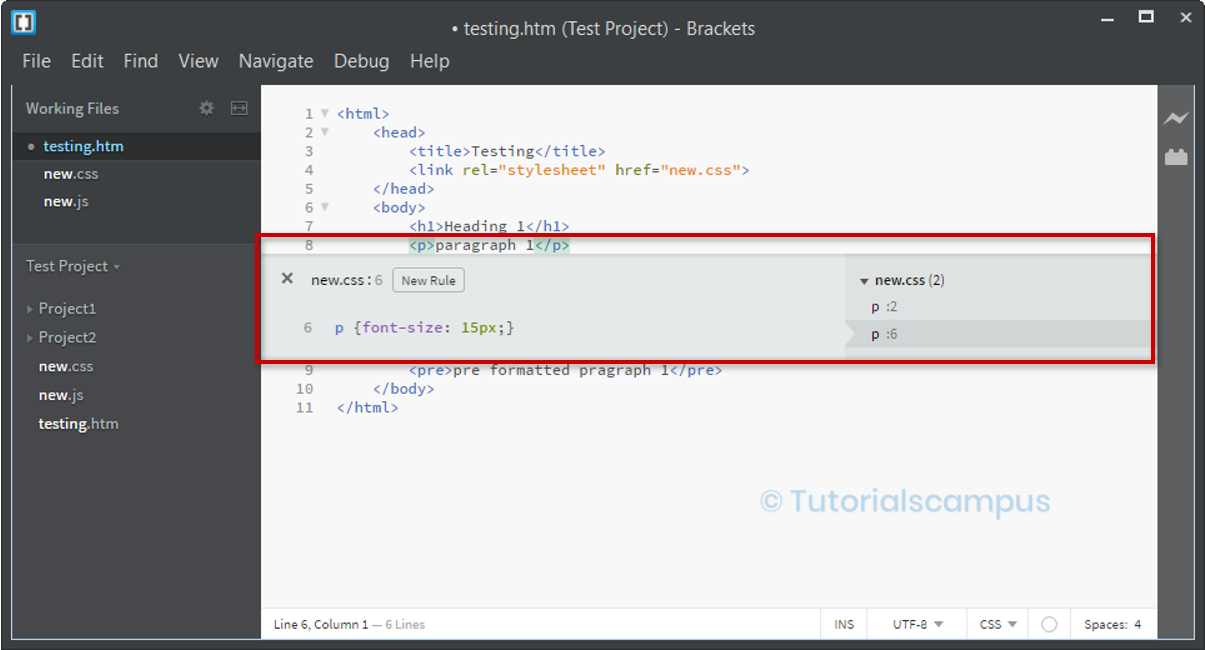
Sometimes there is a need to move from one rule to another rule. Specially in the case when the CSS file is too big and can't able to find the CSS rules for specific element. Brackets provides shortcut key for the specified navigation.
Shortcuts -
	Alt + Up-arrow  	-	Next Rule	(Windows/Mac)
	Alt + Down-arrow	-	Previous Rule	(Windows/Mac)
Before (Alt + Down-arrow) -
After (Alt + Down-arrow) -
How to open the color picker from Quick Edit -
The color picker helps to change the color inside the quick edit.
Open a CSS file that consists of the color or background color.
After opening the CSS file -
- Move the cursor where the color or background color is coded.
- Select the color.
- Click the quick edit option or press
Ctrl + E.
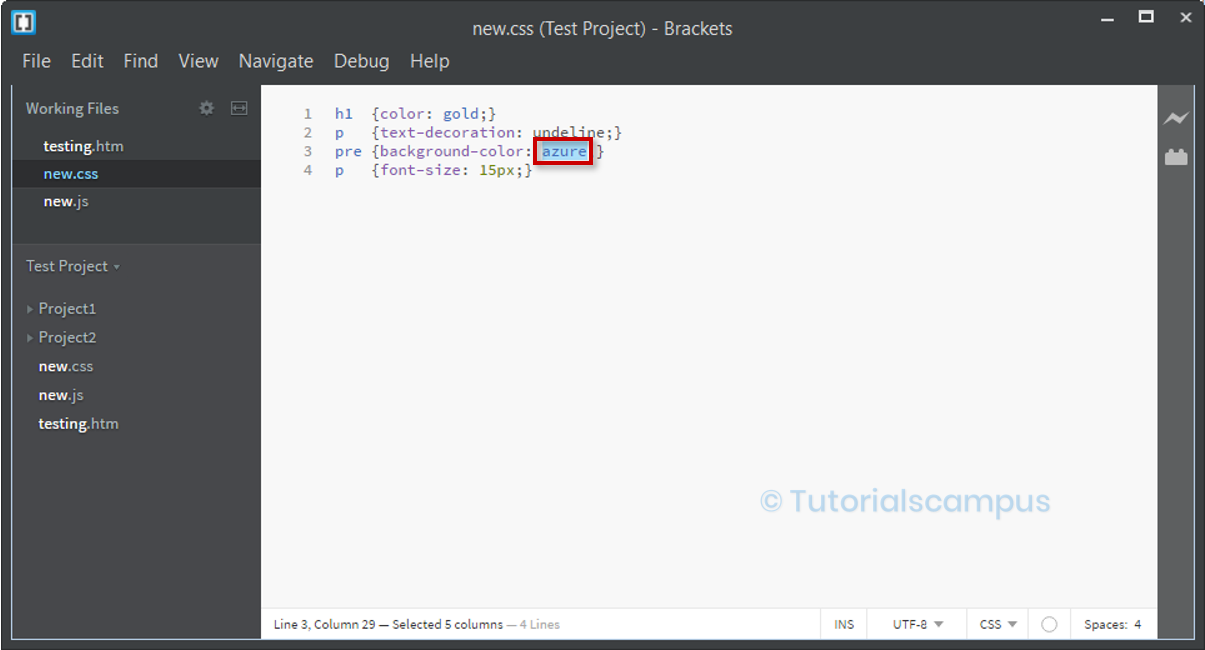
It opens a color editor with many color options and picks up any color from the set of colors using the arrow keys in the keyboard or using the mouse. Colors names can be in RGBa, Hex, HSLa and 0x formats.
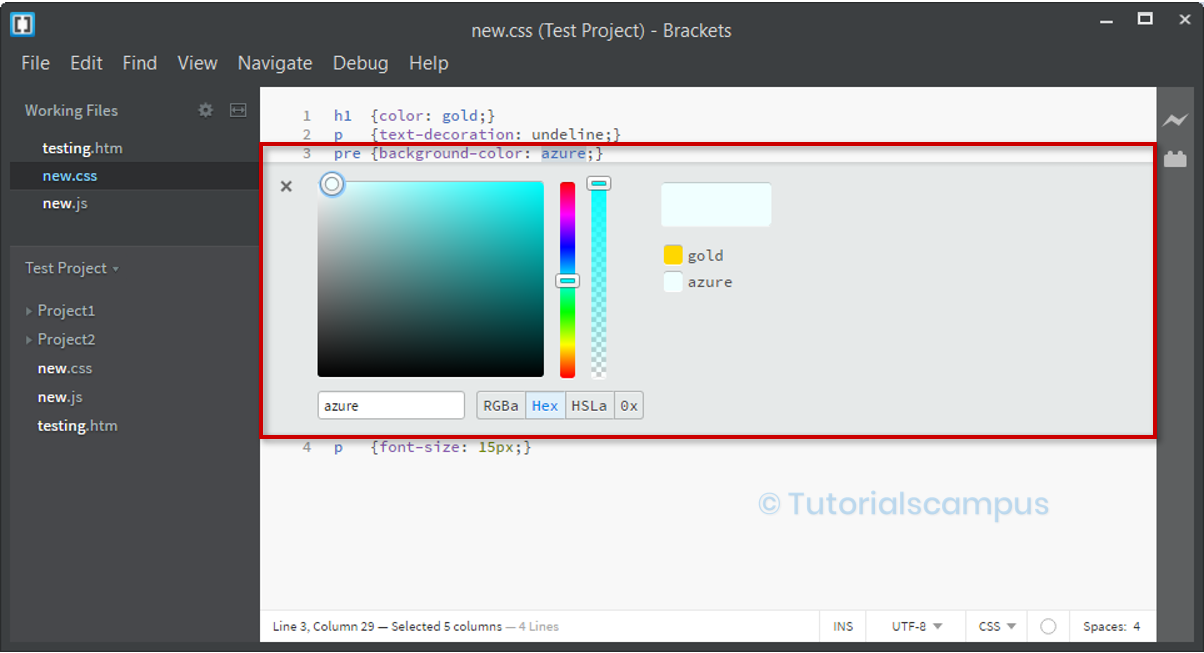
We can select the color and desired format(RGBa, Hex, HSLa and 0x) to change the color value in the CSS rule.
Quick Edit transition in CSS -
Transition quick edit option is a wonderful option in the Brackets Editor. This option is helpful to change the transition in live using Time and Progression.
To do the same, open a CSS file that consists of the transition.
After opening the CSS file -
- Move the cursor where the transition is coded.
- Select the transition.
- Click the quick edit option or press
Ctrl + E.
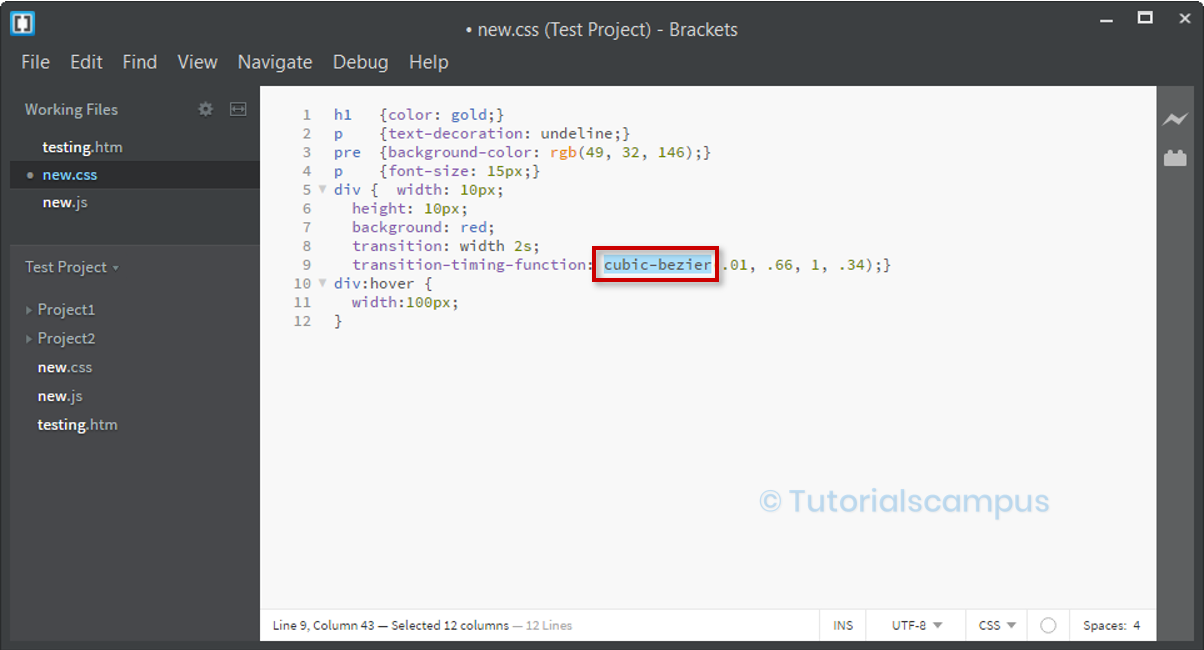
It has the Time, Progression and modify those values using the mouse.
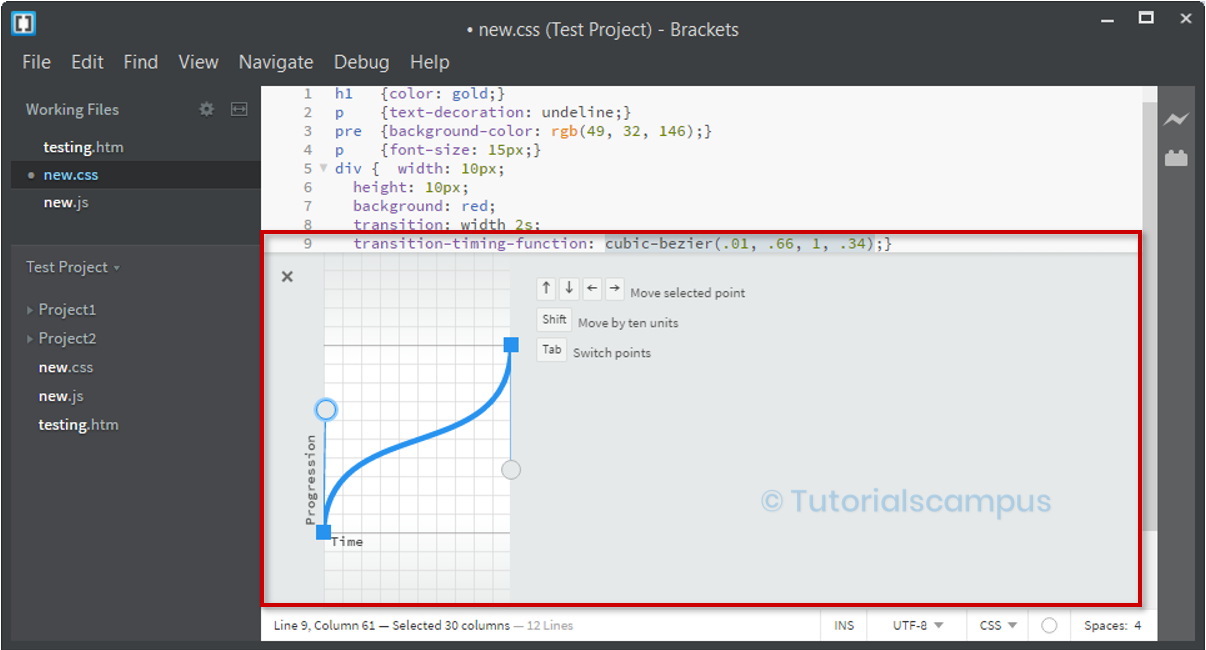
Once the desired transition selected, close the quick edit screen.
How to Close Quick Edit -
There are two ways to close the quick edit option. They are -
- Click the ESC.
- Click on the cross button of the quick editor.

Quick Edit Shortcuts -
There are different shortcuts in the quick edit.
Here Ctrl is used for the windows, and the Cmd is used for the Mac. They are -
| Shortcut key | Description |
|---|---|
| Ctrl + E | Opens the quick edit. |
| Ctrl + Alt + N | Creates the new rule in the quick edit. |
| Ctrl + K | Opens the quick docs. |
| Alt + Arrow Down | Moves to the next rule. |
| Ctrl + Arrow Up | Moves to the previous rule. |
