
SAP FI Vendor Acctount Group
Below process is to create vendor account group TC01 (Test Vendor Account Group).
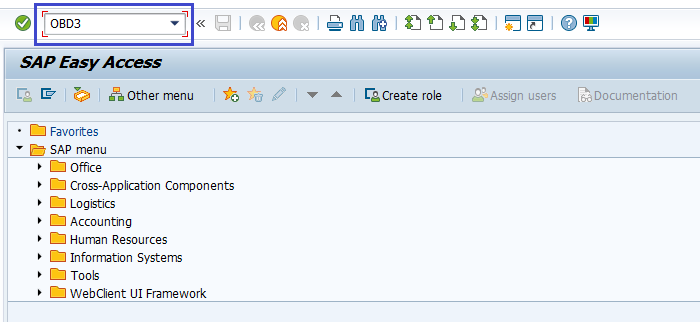
Step-1: Enter the transaction code OBD3 in the SAP command field and click Enter to continue.
(OR)
Enter the transaction code SPRO in the SAP command field and click Enter to continue.
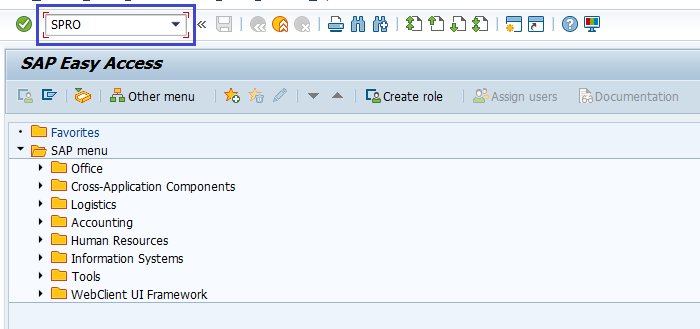
Click on SAP Reference IMG.
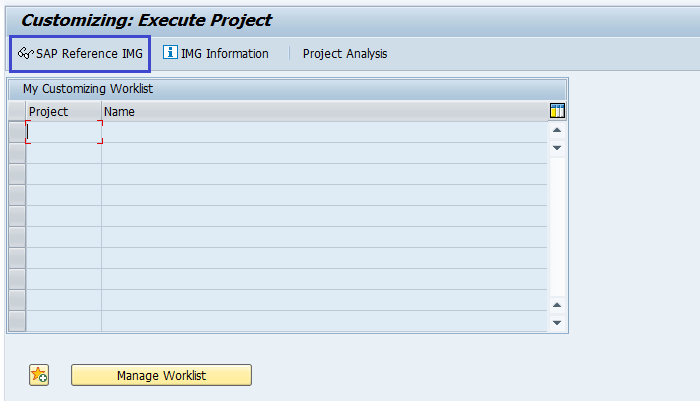
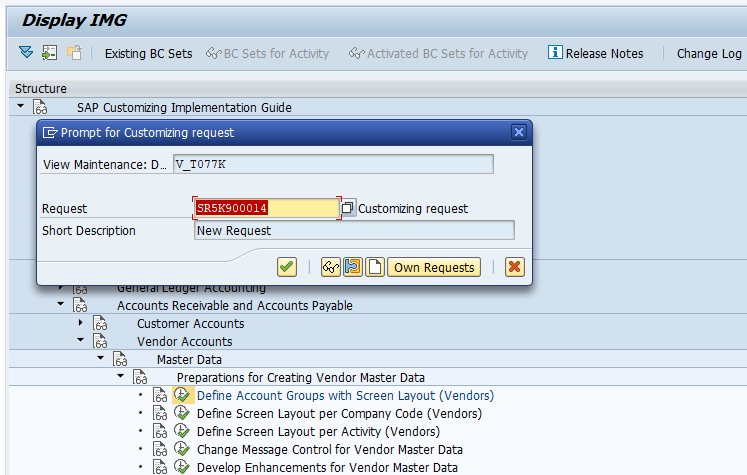
Navigate to SAP Customizing Implementation Guide → Financial Accounting → Accounts Receivable and Accounts Payable → Vendor accounts → Master data → Preparation for creating vendor master data → Define Account groups with screen layout (Vendors). Click on Execute.

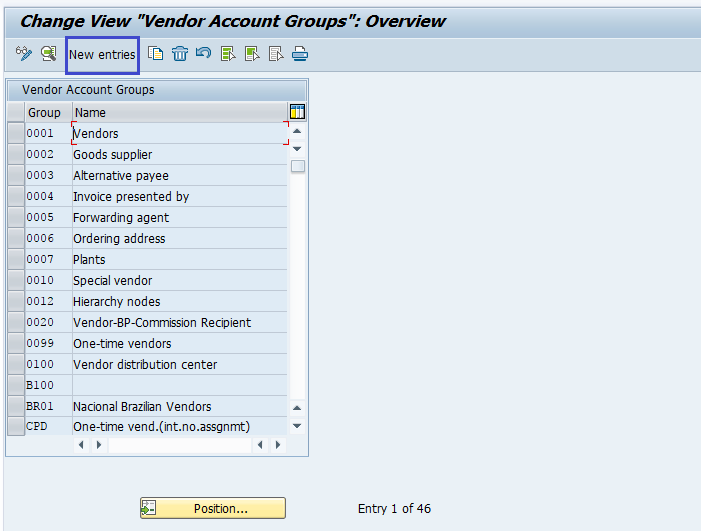
Step-2: In the next screen, click on New Entries.
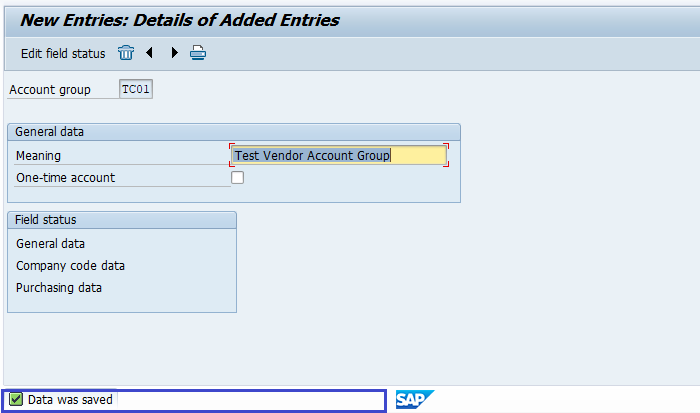
Step-3: In the next screen, enter the below details.
- Unique key as Account Group key
- Short description for the Account Group
- Check it if creating Account Group for One-Time Vendors
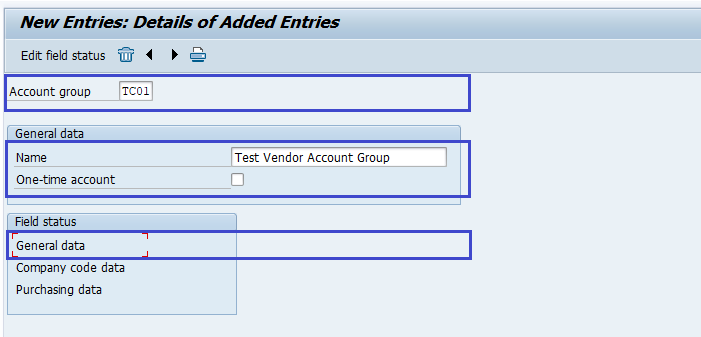
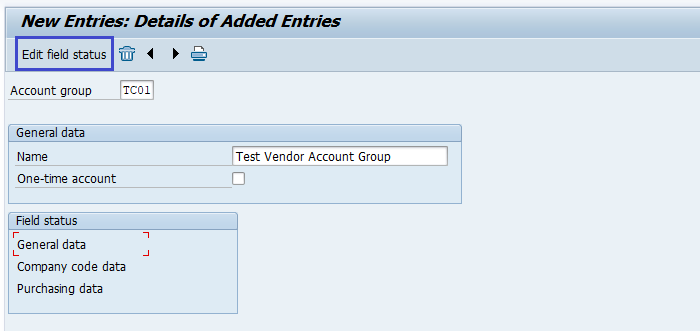
Step-4: Select the respective from the Field status section and click on Edit Field Status.
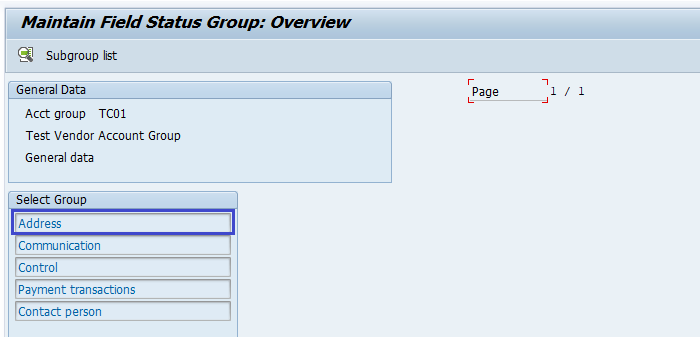
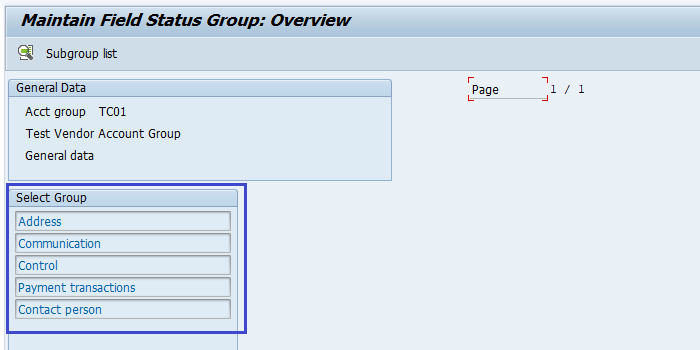
Step-5: In the next screen, Select the Group of fields to maintain Field Status.
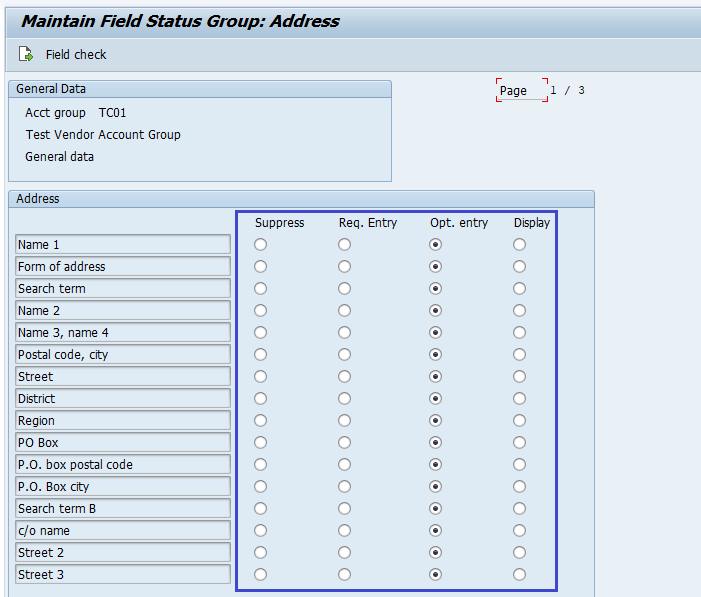
Step-6: In the next screen, modify the Field Status of Fields of the selected Group.
Step-7: Modify the other groups if required to update the other fields.
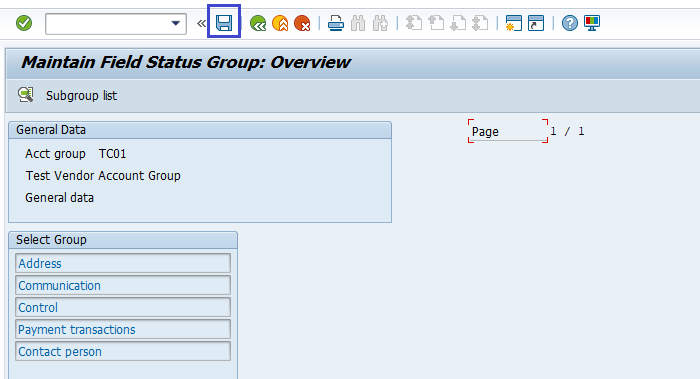
Step-8: Once all the details entered, click on the Save button to save the changes.
Step-9: It prompt for the Change Request. Click on tick mark.
Step-10: Status bar displays the below message once the vendor account group created successfully.
Technical Information: -
- Transaction Code: - OBD3
- Navigation path: - SPRO → SAP Reference IMG → SAP Customizing Implementation Guide → Financial Accounting → Accounts Receivable and Accounts Payable → Vendor accounts → Master data → Preparation for creating vendor master data → Define Account groups with screen layout (Vendors)