
SAP SD Assign number ranges to customer account group
Different number ranges can be created to assign it to different customer account groups or One number range can be assigned to different customer account groups.
Assigning number ranges to customer account group establishes the link between them. Once the number ranges assigned to customer account group, then the account group is eligible to use while creating customer master.
Assign Number Ranges to Customer Account Group: -
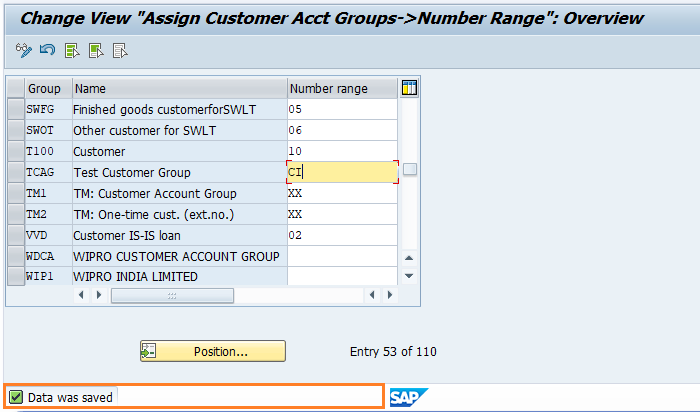
Below process to assign the Number Ranges CI to Customer Account Group TCAG –
Step-1: Enter the transaction code OBAR in the SAP command field and click Enter to continue.
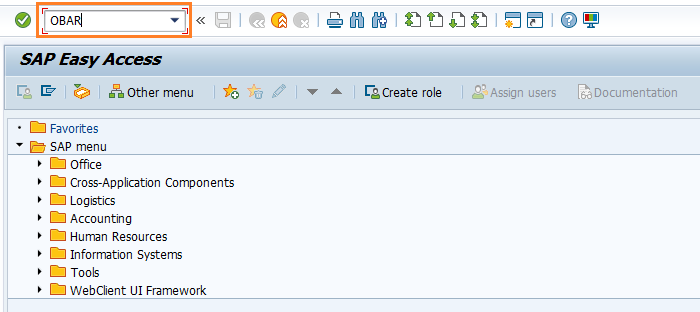
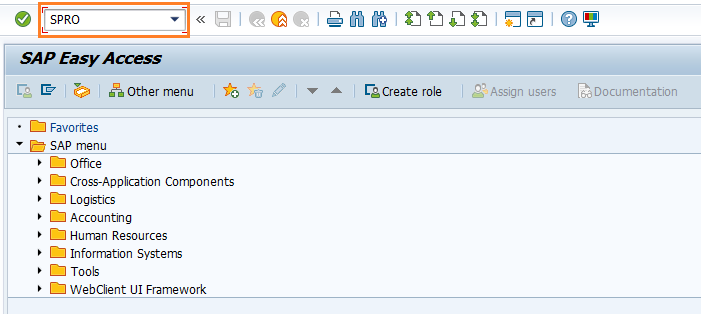
(OR)
Enter the transaction code SPRO in the SAP command field and click Enter to continue.
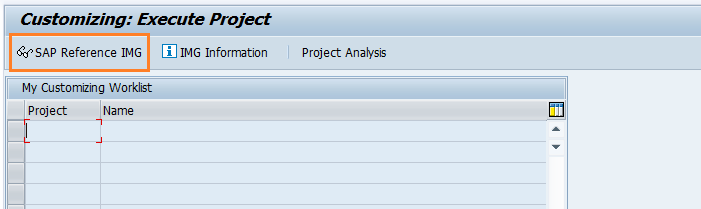
Click on SAP Reference IMG.
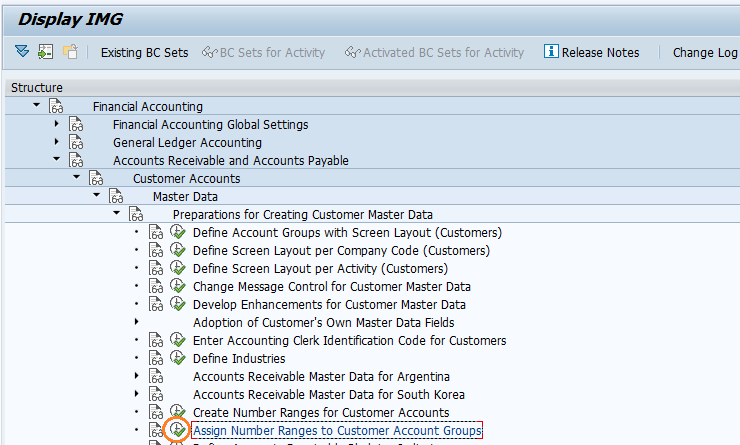
Expand SAP Customizing Implementation Guide → Financial Accounting → Accounts receivable and Accounts Payable → Customer Accounts → Master Data → Preparations for Creating Customer Master Data → Assign Number Ranges to Customer Account Group . Click on Execute.
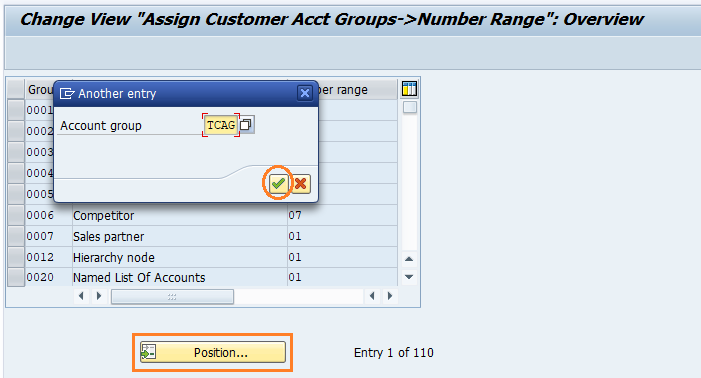
Step-2: In the next screen, click on Position button and enter the required group name to navigate to the required field.
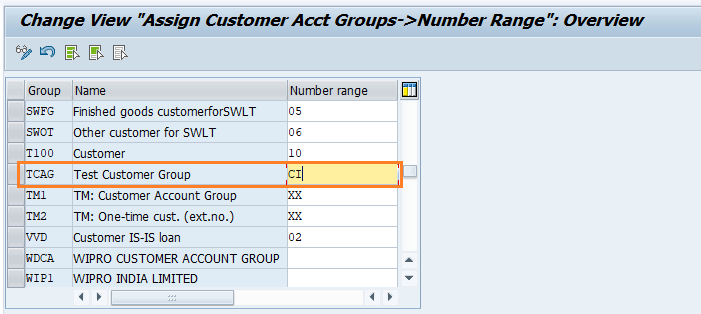
Step-3: Now enter the number range corresponding to the group.
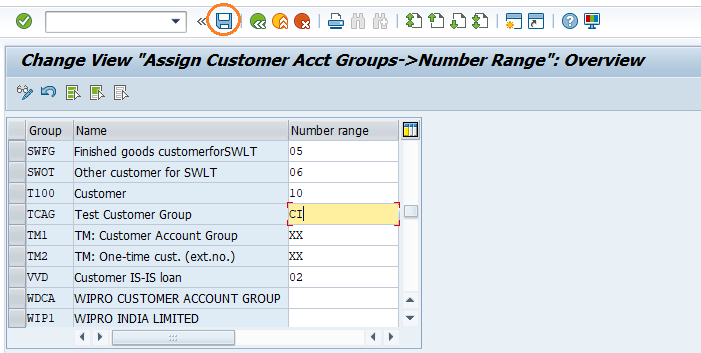
Step-4: Once all the details entered, click on Save button to save the details.
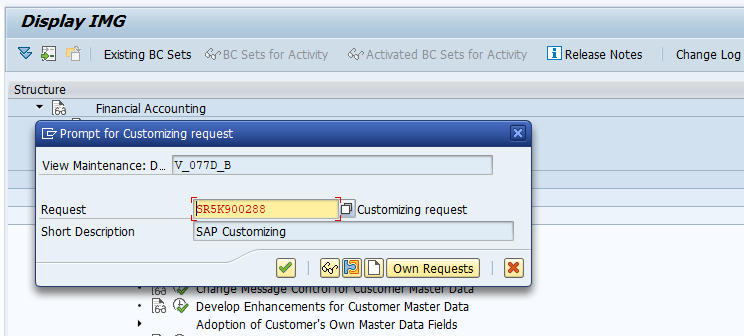
Step-5: It prompt for the Change Request. Create/Select the change request and Click on right mark to proceed.
Step-6: Status bar displays the below message once the number range assigned to customer account group successfully.
Technical details: -
- Transaction: OBAR
- Menu Path: SPRO → SAP Reference IMG → SAP Customizing Implementation Guide → Financial Accounting → Accounts receivable and Accounts Payable → Customer Accounts → Master Data → Preparations for Creating Customer Master Data → Assign Number Ranges to Customer Account Group