
SAP SD Assign sales office to sales area
Sales office can be assigned to sales area and multiple sales offices can assign to a Sales Area. The link between the sales office and sales area can be established through assignment.
Assign Sales office to Sales Area: -
Process to assign the below sales offices to sales area.
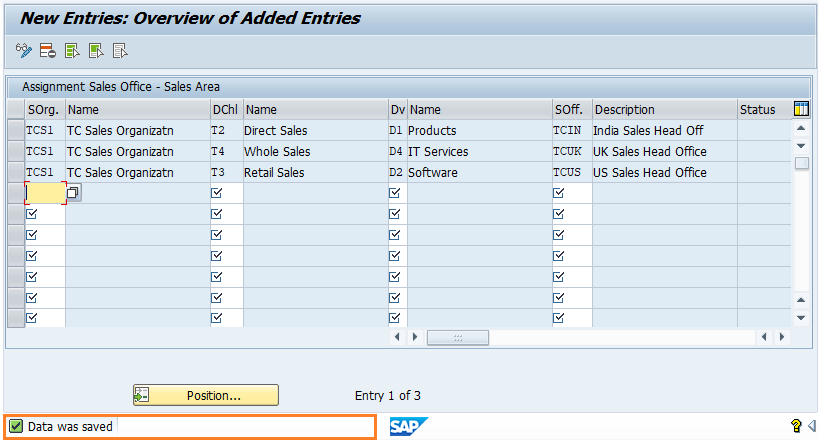
| Sales Org. | Distribution Channel | Division | Sales Office |
|---|---|---|---|
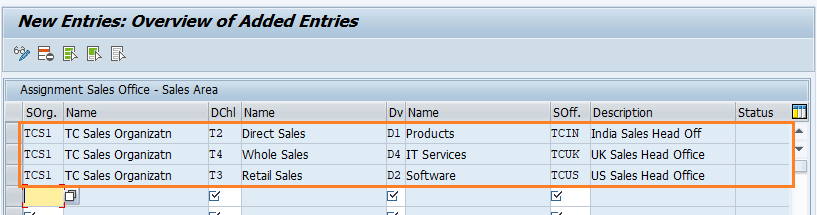
| TCS1 | T2 | D1 | TCIN |
| TCS1 | T4 | D4 | TCUK |
| TCS1 | T3 | D2 | TCUS |
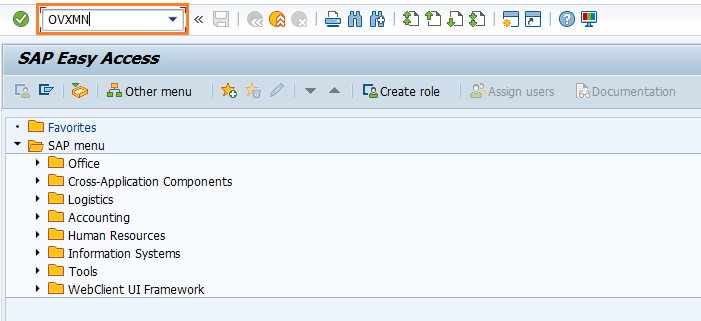
Step-1: Enter the transaction code OVXMN in the SAP command field and click Enter to continue.
(OR)
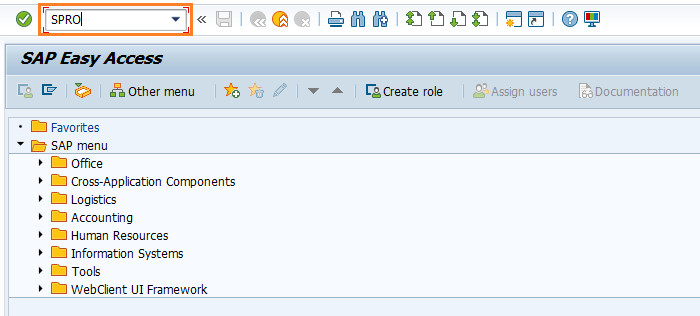
Enter the transaction code SPRO in the SAP command field and click Enter to continue.
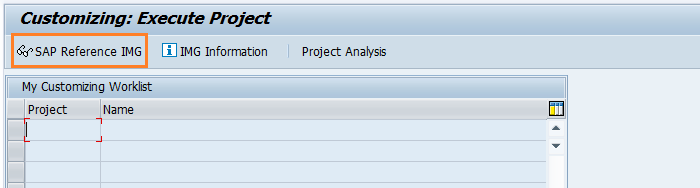
Click on SAP Reference IMG.
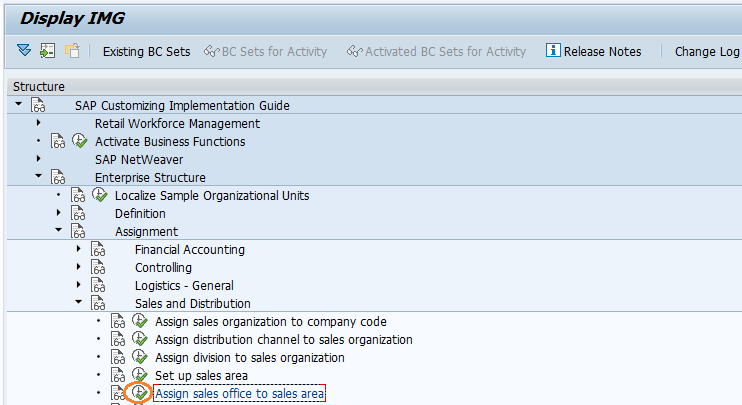
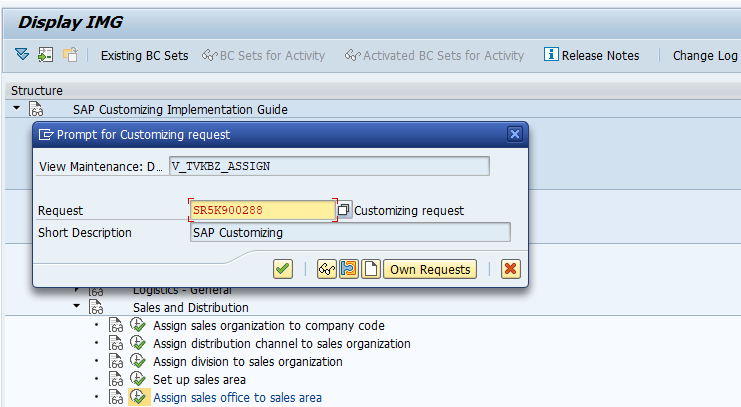
Expand SAP Customizing Implementation Guide → Enterprise Structure → Assignment → Sales and Distribution → Assign sales office to sales area . Click on Execute.
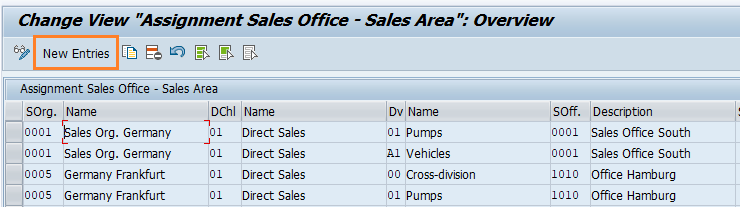
Step-2: In the next screen, click on New Entries.
Step-3: In the next screen, enter the below details and click on Enter.
- SOrg - Specify the sales organization code to which the division planning to assign
- Dchl - Specify the distribution channel code
- Dv - Specify the division code
- SOff. - Specify the sales office code
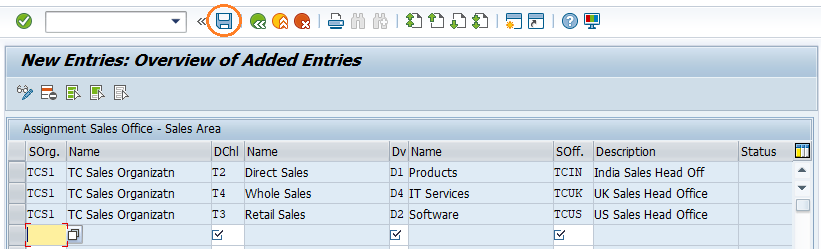
Step-4: Once all the details entered, click on Save button to save the details.
Step-5: It prompt for the Change Request. Create/Select the change request and Click on right mark to proceed.
Step-6: Status bar displays the below message once the sales office assigned to sales area successfully.
Technical details: -
- Transaction: OVXMN
- Menu Path: SPRO → SAP Reference IMG → SAP Customizing Implementation Guide → Enterprise Structure → Assignment → Sales and Distribution → Assign sales office to sales area