
SAP FICO Assign Company Code to Controlling Area
After Controlling Area created successfully, the company codes should be assigned to controlling area. The company codes should have the same Fiscal Year variant and Chart of Accounts which are used while creating Controlling Area.
The assigning company codes number (either one or multiple) is based on the input selection for CoCd → CO Area entry while creating Controlling Area.
If the option selected “Cross-company-code cost Accounting” selected, then more than one company code should be assigned to controlling area. Otherwise, it accepts only one company code.
Below process is the assignment of company codes (TR01, TR02, TR03) to controlling area TCCA (Test Controlling Area).
Step-1: Enter the transaction code OX19 in the SAP command field and click Enter to continue.
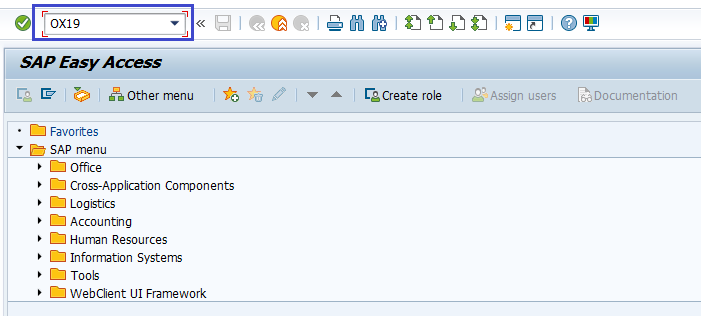
(OR)
Enter the transaction code SPRO in the SAP command field and click Enter to continue.

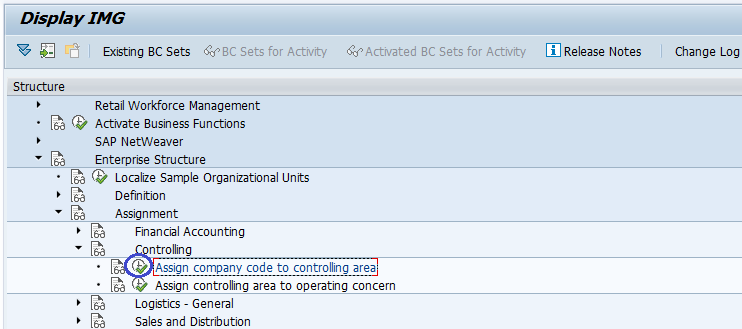
Click on SAP Reference IMG.

Expand SAP Customizing Implementation Guide → Enterprise Structure → Assignment → Controlling → Assign Company Code to Controlling Area . Click on Execute.
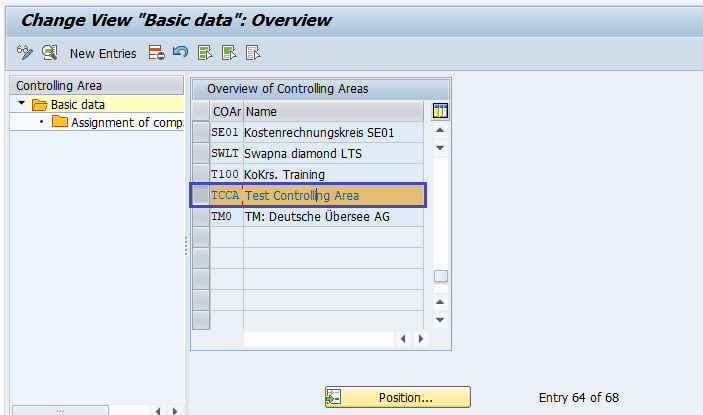
Step-2: - Select the Controlling Area, double click on it to open the controlling area details.
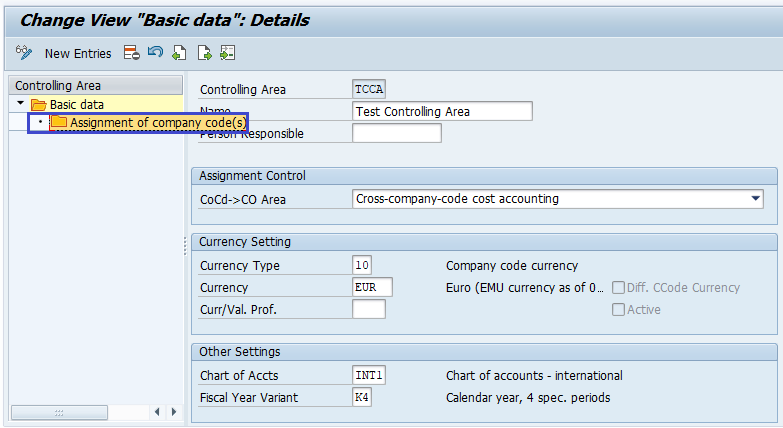
Step-3: -Double click on Assignment of Company Code(s) to proceed further.
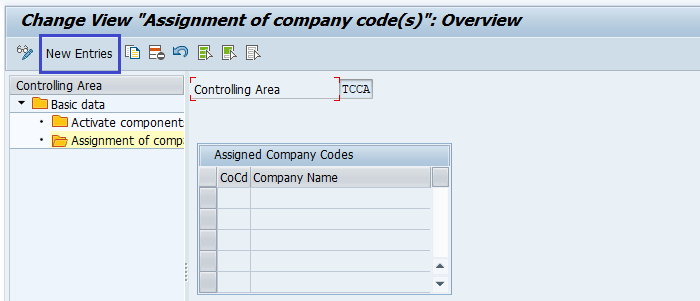
Step-4: - In the next screen, Click on New Entries.
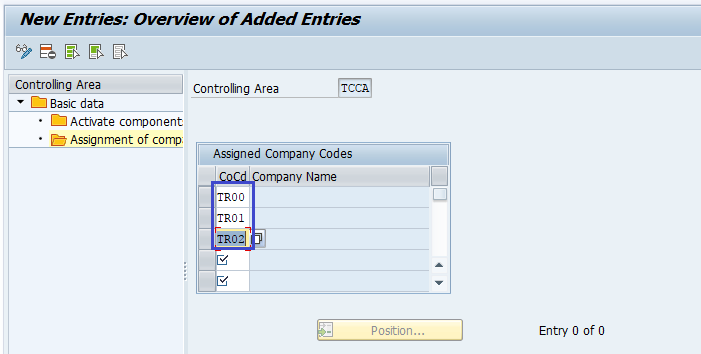
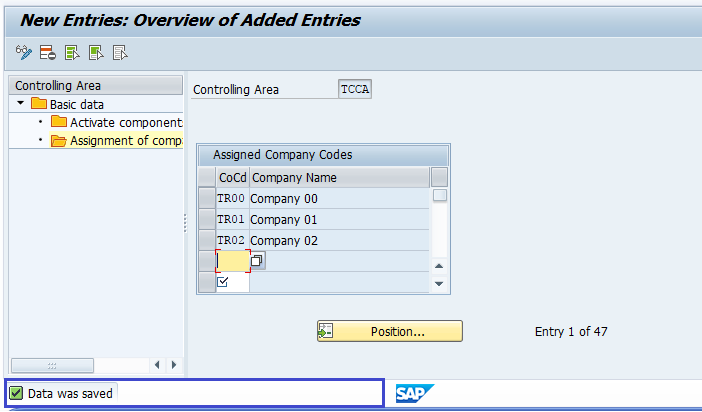
Step-5: - In the next screen, Enter the company code(s) based on the CoCd->CO Area entry.
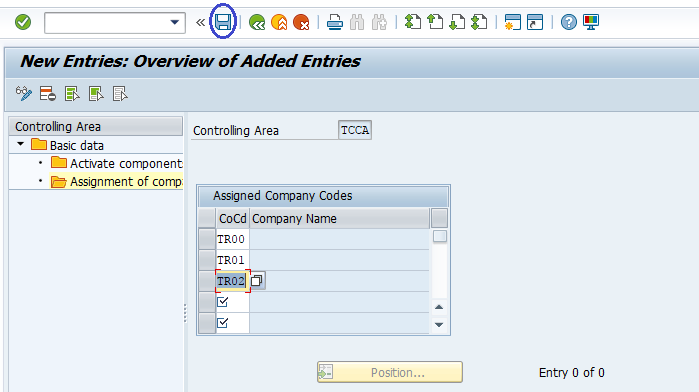
Step-6: Click on Save button to save the changes.
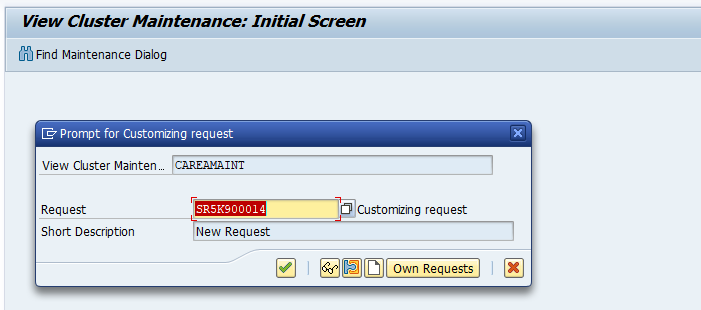
Step-7: It prompt for the Change Request. Create/Select the change request and Click on right mark to proceed.
Step-8: Status bar displays the below message once the Controlling area created successfully.
Technical Information: -
- Transaction: OX19
- Menu Path: SPRO → SAP Reference IMG → SAP Customizing Implementation Guide → Enterprise Structure → Assignment → Controlling → Assign Company Code to Controlling Area
- Database Table: TKA02